 Pin it
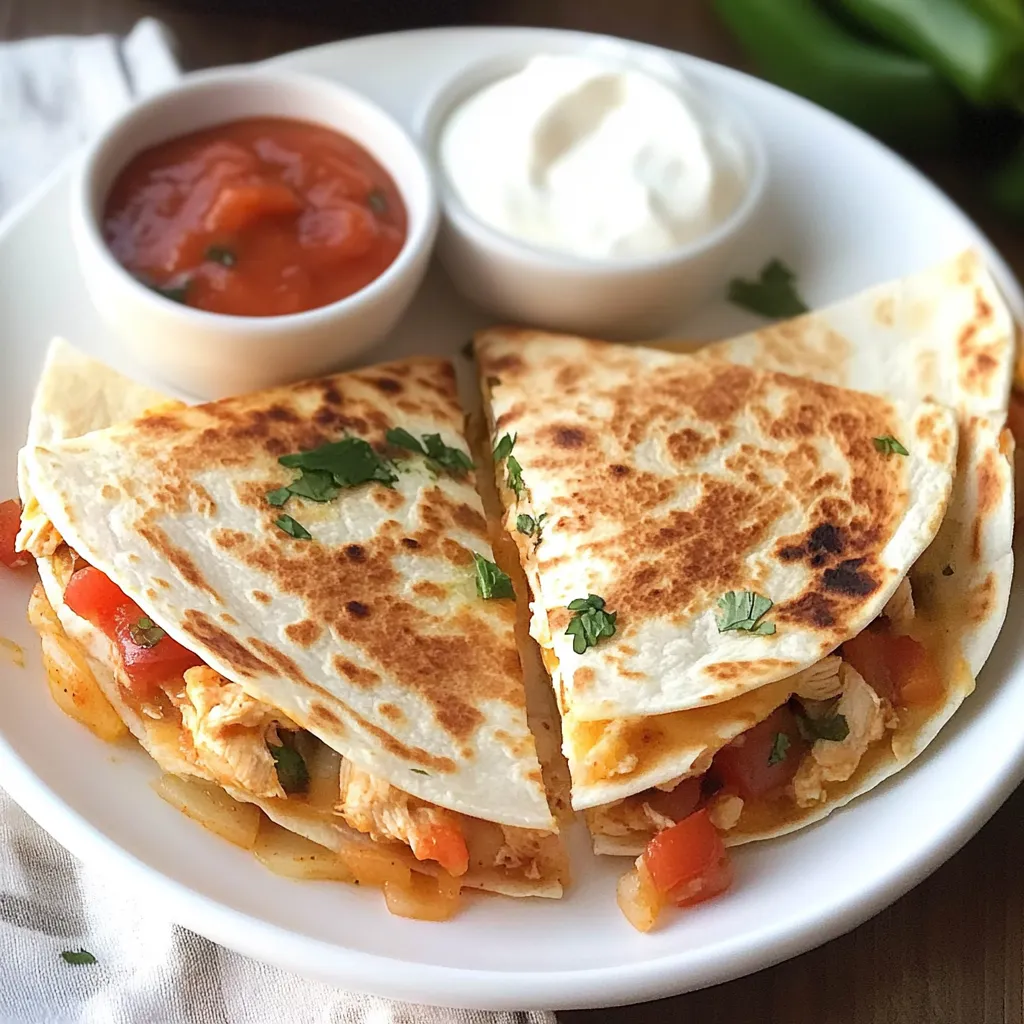
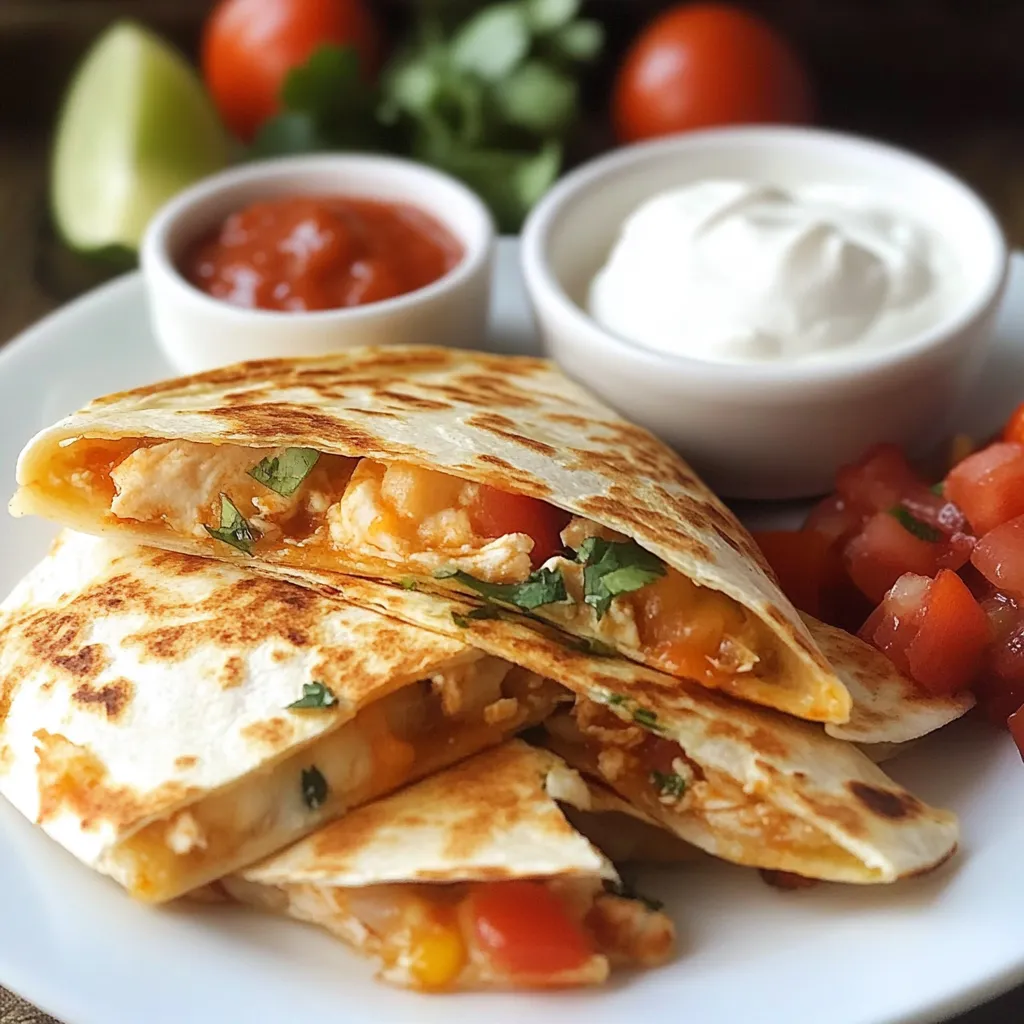
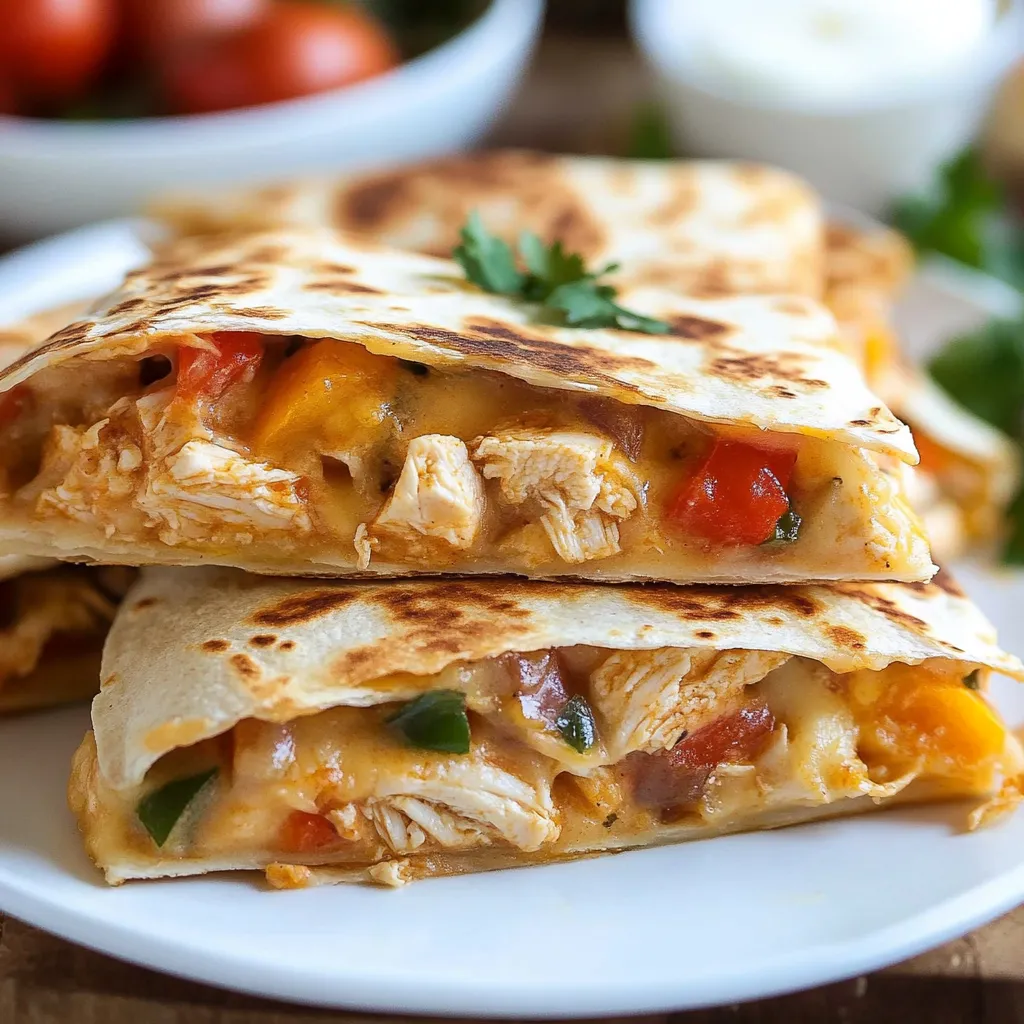
These chicken quesadillas bring restaurant-quality taste right to your kitchen table with minimal effort. The combination of perfectly seasoned chicken, sautéed vegetables, and two types of melty cheese creates a satisfying meal that hits all the right notes.
I made these last Saturday when friends dropped by unexpectedly. With just what I had in my fridge, I whipped them up in minutes and everyone raved about them.
Key Ingredients
- Tortillas: Sturdy flour tortillas for best texture.
- Cheese Blend: Sharp cheddar and Monterey Jack for flavor and meltability.
- Chicken: Rotisserie or leftover chicken works great.
- Bell Peppers: A mix of colors adds visual appeal and flavor balance.
- Homemade Seasoning: Custom spice blend for the perfect taste.
- Mushrooms: Adds a meaty texture and enhances flavor.
Cooking Instructions
Blend your seasoning: Mix salt, onion powder, garlic powder, dried oregano, cumin, chili powder, paprika, and black pepper.
Season the chicken: Toss with half the seasoning and let it rest.
Cook the vegetables: Sauté onions, bell peppers, and mushrooms in oil with remaining seasoning.
Deglaze the pan: Add a splash of broth or water to capture flavor.
Assemble quesadillas: Layer cheese, chicken, vegetables, and more cheese between tortillas.
Cook until crispy: Pan-fry until golden brown and melted inside.
Rest and slice: Let cool slightly before cutting into wedges.
 Pin it
The History of Quesadillas
Quesadillas trace back to colonial Mexico, where Spanish settlers introduced cheese to indigenous flatbreads.
Why Two Types of Cheese Matter
Sharp cheddar for flavor and Monterey Jack for superior meltability create the perfect balance.
The Vegetable Balance
Caramelized onions and peppers add sweetness and depth, complementing the cheese and chicken.
Family Dinner Strategies
Set up a quesadilla bar with customizable fillings to satisfy different preferences.
Weeknight Prep Shortcuts
Pre-cook the chicken and vegetables to speed up meal assembly during busy nights.
Quesadilla Nutrition Benefits
Protein-rich chicken, healthy fats from cheese, and balanced carbohydrates make this a satisfying meal.
 Pin it
These quesadillas show how simple ingredients, when treated right, can create something truly special. They are a staple in my kitchen for both casual dinners and entertaining guests.
Frequently Asked Questions
- → Can I make these Chicken Fajita Quesadillas ahead of time?
- Yes, you can prepare the chicken and vegetable filling up to 2 days ahead and refrigerate. When ready to serve, simply assemble and cook the quesadillas. For partially assembled quesadillas, layer the ingredients on half the tortillas, store covered in the refrigerator, then fold and cook when ready to eat.
- → What's the best way to cook chicken for these quesadillas?
- You can use any cooked chicken method you prefer. Rotisserie chicken works great for convenience. For homemade, you can poach chicken breasts in water or broth until cooked through (about 15 minutes), or bake seasoned chicken breasts at 375°F for 25-30 minutes until they reach 165°F.
- → How can I make these quesadillas crispier?
- For crispier quesadillas, add a light brush of oil or butter to the outside of the tortilla before cooking. Also, avoid overfilling the quesadillas which can make them soggy, and cook them over medium heat rather than high heat to allow the tortilla to crisp up without burning.
- → What are some good dipping sauces or toppings for these quesadillas?
- These quesadillas pair wonderfully with sour cream, guacamole, pico de gallo, or salsa for dipping. You can also top them with chopped cilantro, sliced green onions, or a squeeze of lime juice for added freshness.
- → Can I freeze these Chicken Fajita Quesadillas?
- Yes, you can freeze them either before or after cooking. To freeze before cooking, assemble the quesadillas, place on a baking sheet until frozen solid, then wrap individually in plastic wrap and store in a freezer bag. To freeze after cooking, allow to cool completely, then wrap individually. Reheat frozen cooked quesadillas in a 350°F oven for about 10-15 minutes.
