 Pin it
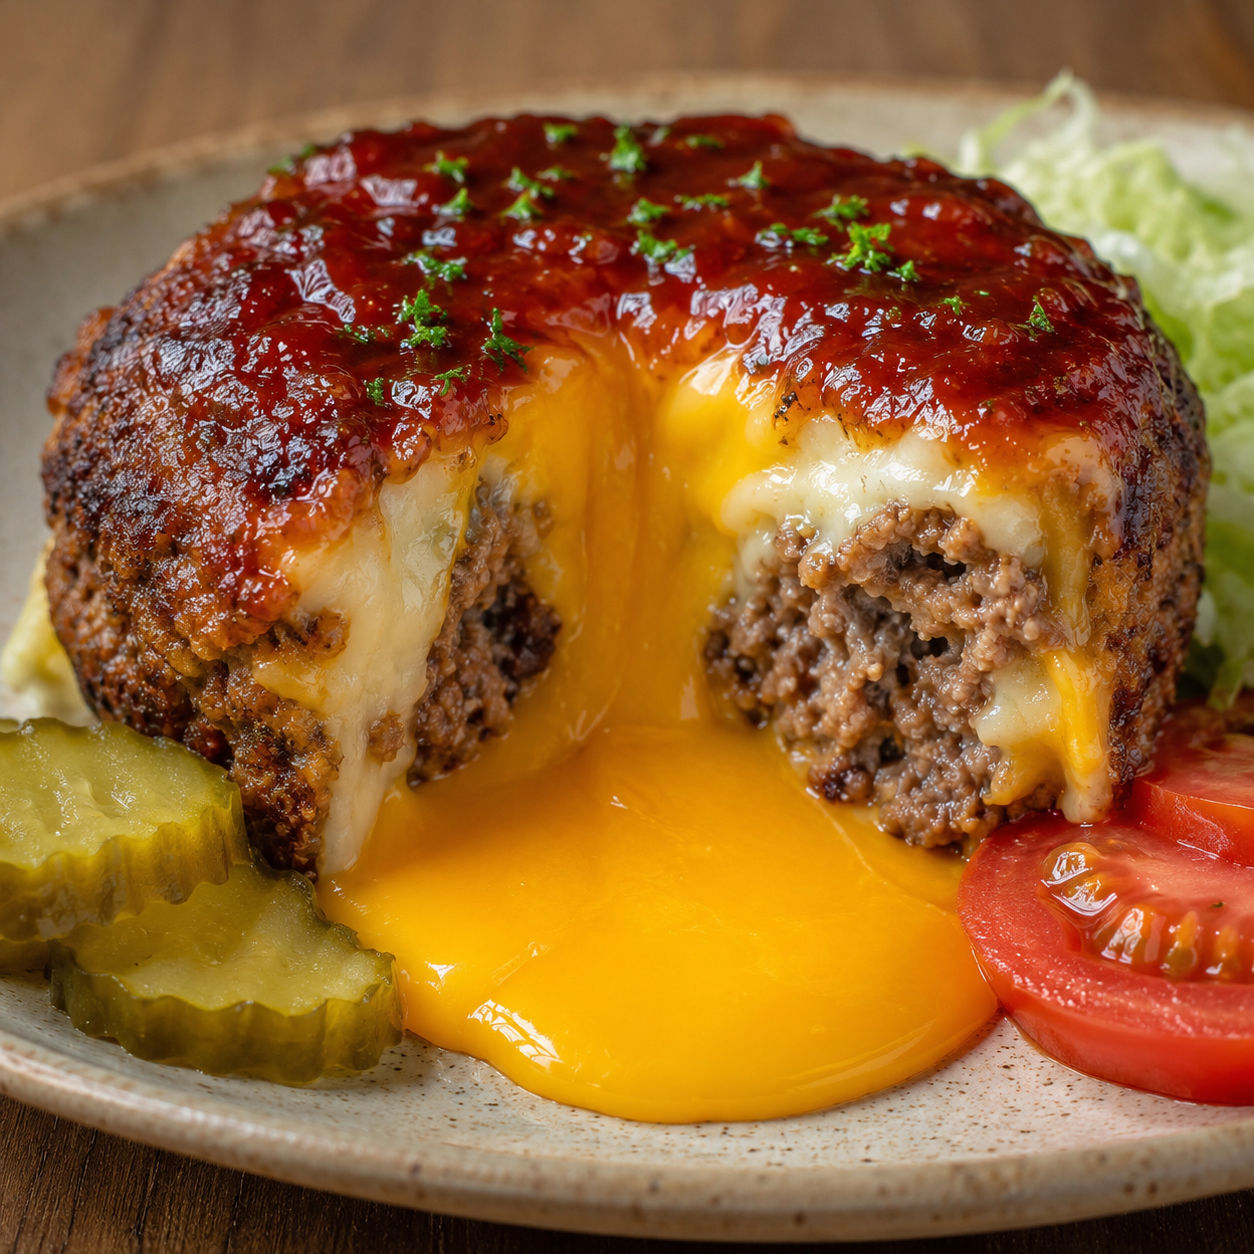
This Cheeseburger Lava Cake with Molten Cheese Center is what happens when a stuffed burger gets dressed up for the dinner table. You cut into a browned beef cake and warm cheese spills from the middle, rich with cheddar, mozzarella, and a little cream cheese for body.
I like it for family dinners because it feels playful without being fussy. The key is not fancy equipment. It is a cold cheese center, a tight beef seal, and a short bake after the sear.
Cheeseburger Lava Cake with Molten Cheese Center
Use beef with enough fat to stay juicy and shred the cheese yourself if you can. Bagged cheese often has starch on it, which can make the center less silky.
- Ground beef. An 80/20 blend gives the cakes enough fat to brown well and stay tender.
- Cheddar cheese. Sharp cheddar brings the familiar cheeseburger taste and a deep orange melt.
- Mozzarella. Adds stretch so the center pulls instead of clumping.
- Cream cheese. Keeps the filling creamy and helps it hold together while freezing.
- Garlic and onion powders. Season the beef evenly without adding wet bits that can weaken the seal.
- Smoked paprika. Gives a little grill-like warmth even when cooking indoors.
- Mustard, ketchup, and pickles. Bring the classic burger tang without needing a bun.
- Butter or oil. Helps the outside sear into a browned crust before baking.
Shape, Sear, And Bake
- Freeze the filling. Mix cheddar, mozzarella, and cream cheese, then form six small balls and freeze until firm so they stay contained during the first minutes of cooking.
- Season the beef gently. Mix the beef with salt, pepper, garlic powder, onion powder, paprika, Worcestershire, and mustard just until combined so the texture does not turn tight.
- Seal the centers. Divide the beef into twelve thin rounds, place one frozen cheese ball on six rounds, top with the remaining beef, and pinch the edges closed.
- Sear the crust. Brown the cakes in a hot oven-safe skillet for 2 minutes per side so the outside gets savory and sturdy.
- Bake to finish. Move the skillet to a 375 F oven and bake until the beef reaches 160 F, usually 8-10 minutes.
- Rest before slicing. Wait 3 minutes, brush with ketchup if you like, then slice while the cheese is still molten.
The Cold-Center Trick
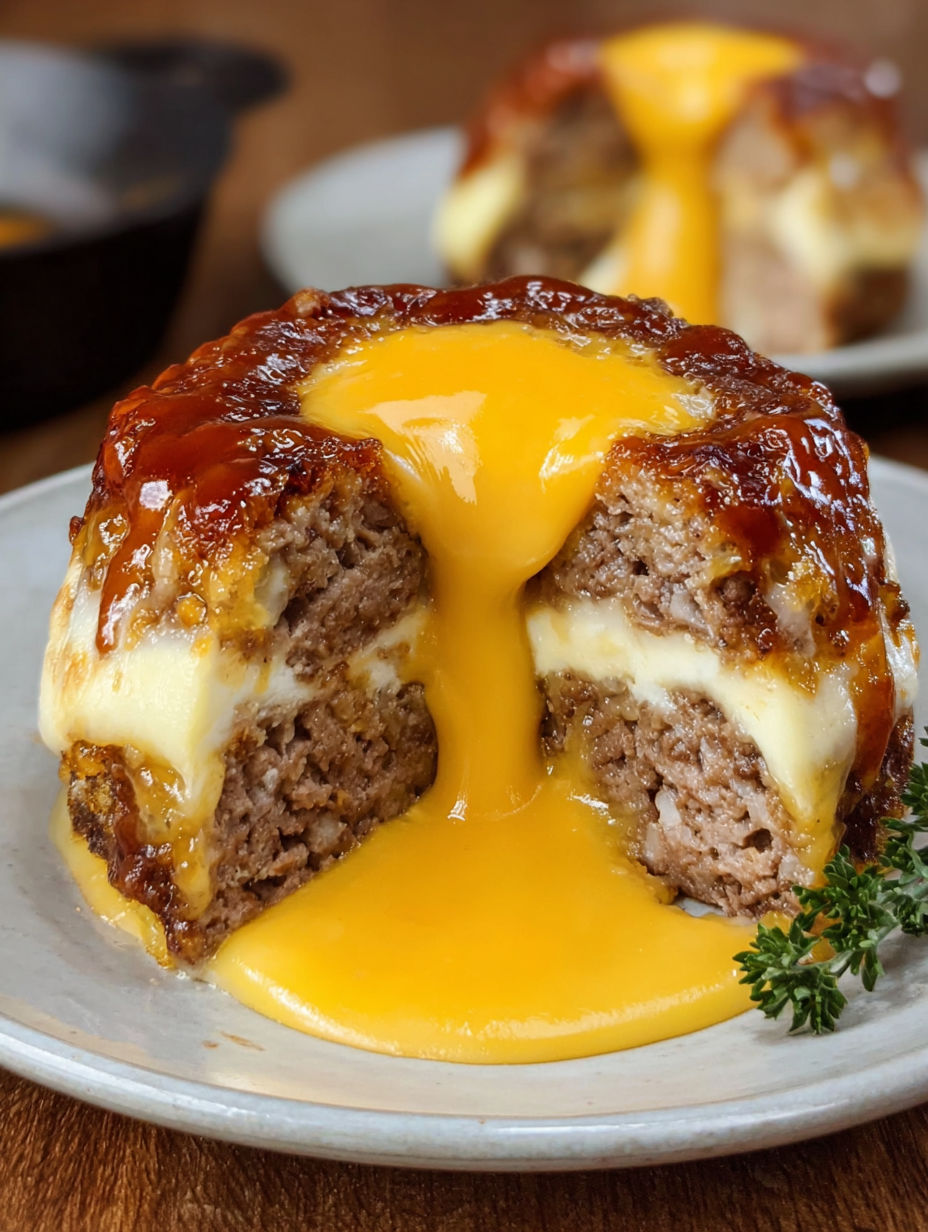
The filling needs a head start in the freezer. A chilled cheese ball gives the beef time to brown and cook before the center turns fully liquid. If you skip that step, the cheese can melt too early and find the smallest opening in the meat. I shape the filling first, freeze it on a small plate, then season the beef while I wait. This keeps the workflow easy.
The mix of cheeses matters too. Cheddar alone tastes great but can separate and turn oily. Mozzarella brings stretch. Cream cheese smooths it out and makes the center spoonable when hot. It is the same kind of cheesy payoff people love in cheeseburger bombs, but here the slice is the whole moment.
Seal It Like A Dumpling
Most leaks happen before the pan ever gets hot. Flatten each beef portion wider than the cheese ball, then pull the edges up and around the filling. Press firmly, but do not mash the whole cake flat. You want an even beef layer around the cheese, especially on the bottom where the first sear happens.
Wet hands help if the beef sticks. If a seam looks weak, use a small pinch of extra beef as a patch. Once sealed, chill the cakes for 10 minutes while the oven heats. That short rest firms the outside and makes them easier to move. If you like this sealed-in cheese style, the cheddar-filled shape in cheeseburger meatloaf uses the same idea on a larger scale.
Getting The Beef Right
Searing first gives you the browned burger flavor that baking alone cannot deliver. Use medium-high heat and let the cakes sit still for the first couple of minutes. Moving them too soon can tear the surface before it forms a crust.
After searing, the oven finishes the thicker center more gently. Ground beef should reach 160 F for food safety, according to the USDA safe temperature chart. Slide the thermometer into the beef layer from the side. Do not aim for the cheese pocket, because melted cheese will read hot before the surrounding beef is done.
Flavor Swaps That Fit
Once you understand the shape, the filling is easy to change. Pepper jack adds heat. Smoked gouda gives a deeper cookout flavor. A spoonful of minced pickles in the cheese center tastes good, but keep it small because watery add-ins can loosen the filling.
For a bacon version, fold crisp chopped bacon into the cheese or serve it on top after baking. If you want a hand-held dinner, tuck the finished cakes into toasted buns with lettuce and pickles. For another beef-and-cheese dinner with the same comfort-food feel, try bacon cheeseburger cheese wraps. They are less dramatic to slice, but just as useful on a busy night.
Storing And Reheating
Cooked cheeseburger lava cakes keep in an airtight container in the fridge for up to 3 days. Reheat them in a 325 F oven or air fryer until warmed through. The microwave works in a pinch, but it can toughen the beef and make the cheese heat unevenly.
You can also freeze the assembled uncooked cakes. Place them on a tray until solid, then wrap well and freeze for up to 1 month. Thaw overnight in the fridge before cooking. If you enjoy this kind of melty ground beef dinner, bacon cheeseburger rice is a good skillet option for nights when you do not want to shape anything.
Summary
Serve these cheeseburger lava cakes with pickles, salad, fries, or roasted vegetables while the centers are still hot and gooey.
FAQs
- How do I keep the molten cheese from leaking out?
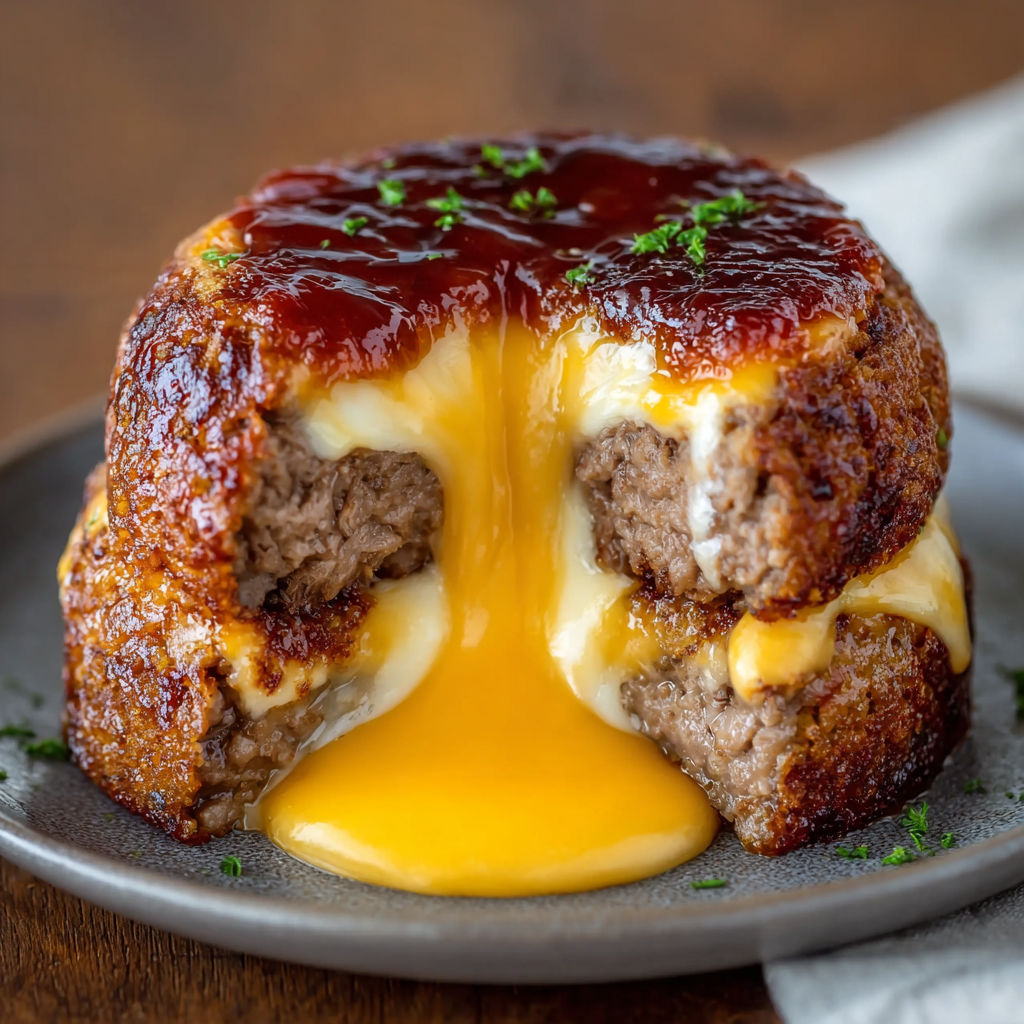
Freeze the cheese filling until firm and seal the beef around it with no thin spots. If you see cheese peeking through before cooking, patch it with a small piece of beef and press the seam closed.
- Can I make cheeseburger lava cakes ahead of time?
Yes. Assemble them up to one day ahead and keep them covered in the fridge. For a stronger seal, freeze them on a tray for 20 minutes before searing.
- What cheese melts best in the center?
Cheddar gives the classic cheeseburger flavor, mozzarella adds stretch, and cream cheese helps the filling stay creamy. Pepper jack, gouda, or American cheese can replace part of the cheddar if you want a softer melt.
- Can I cook these without an oven-safe skillet?
Yes. Sear the beef cakes in a regular skillet, then move them to a small baking dish or sheet pan. Try not to handle them too much after searing because the filling will be soft inside.
- What temperature should the beef reach?
Ground beef should reach 160 F in the thick beef layer. Check from the side rather than straight into the cheese pocket, since the center is melted cheese and will not give you a useful beef reading.
- Are cheeseburger lava cakes gluten-free?
This version is gluten-free if your Worcestershire sauce, ketchup, mustard, and seasonings are labeled gluten-free. Serve without a bun or use gluten-free buns if you want the full burger feel.
- What should I serve with them?
Pickles, shredded lettuce, oven fries, roasted broccoli, and a sharp tomato salad all work well. The beef and cheese are rich, so something crisp or acidic on the plate helps.
