 Pin it
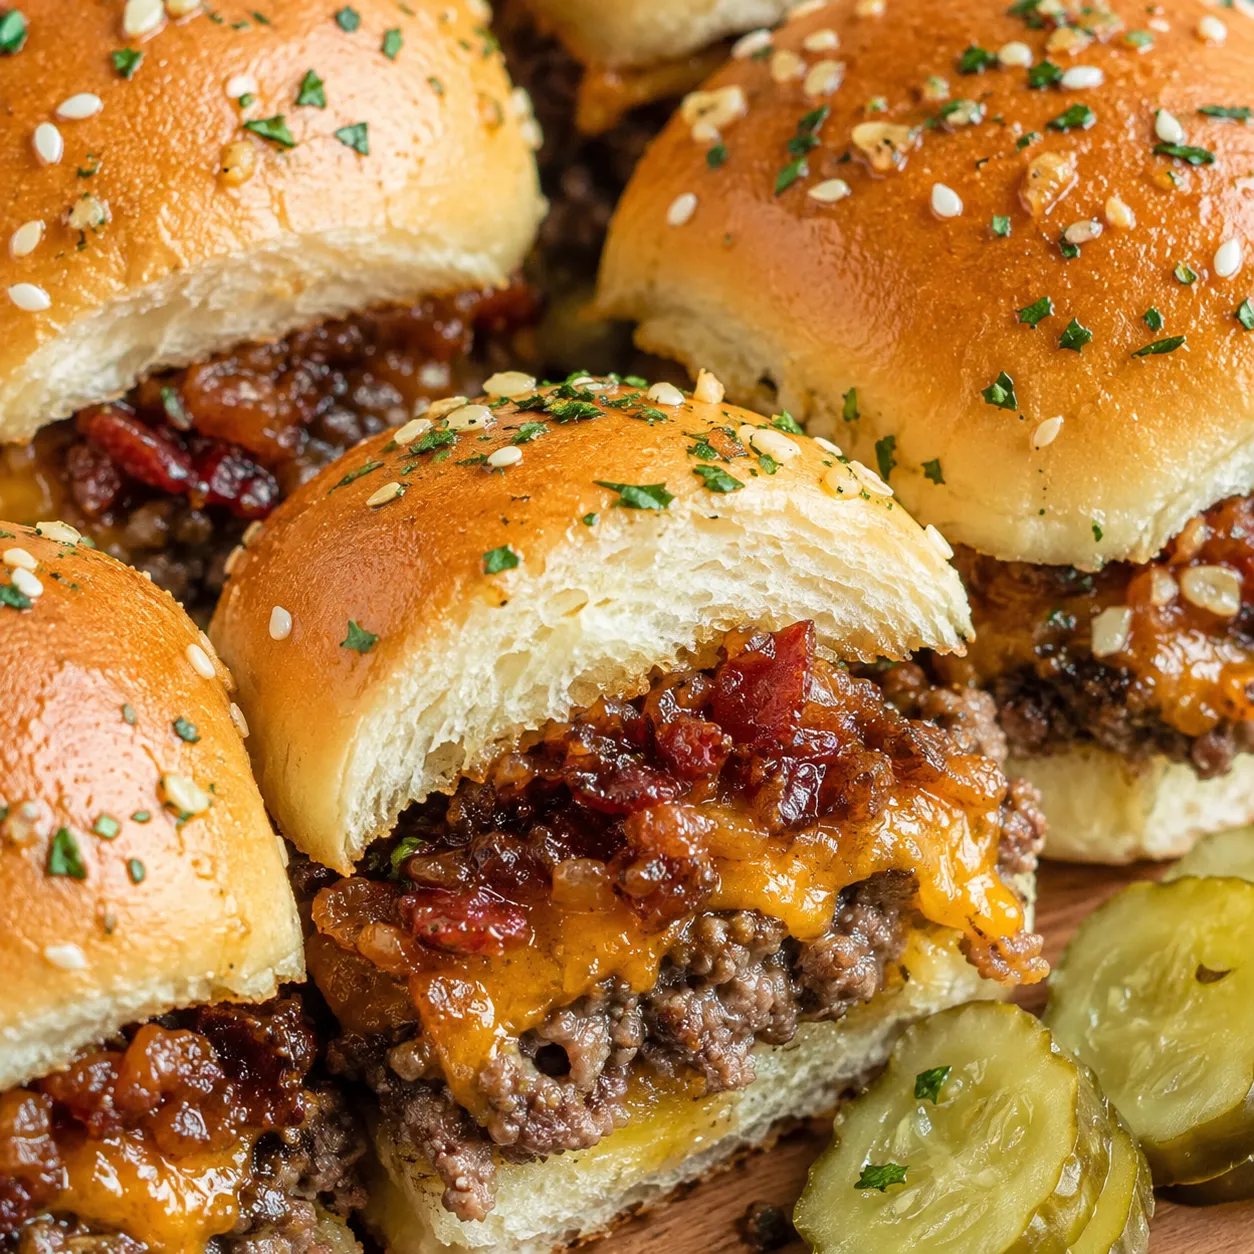
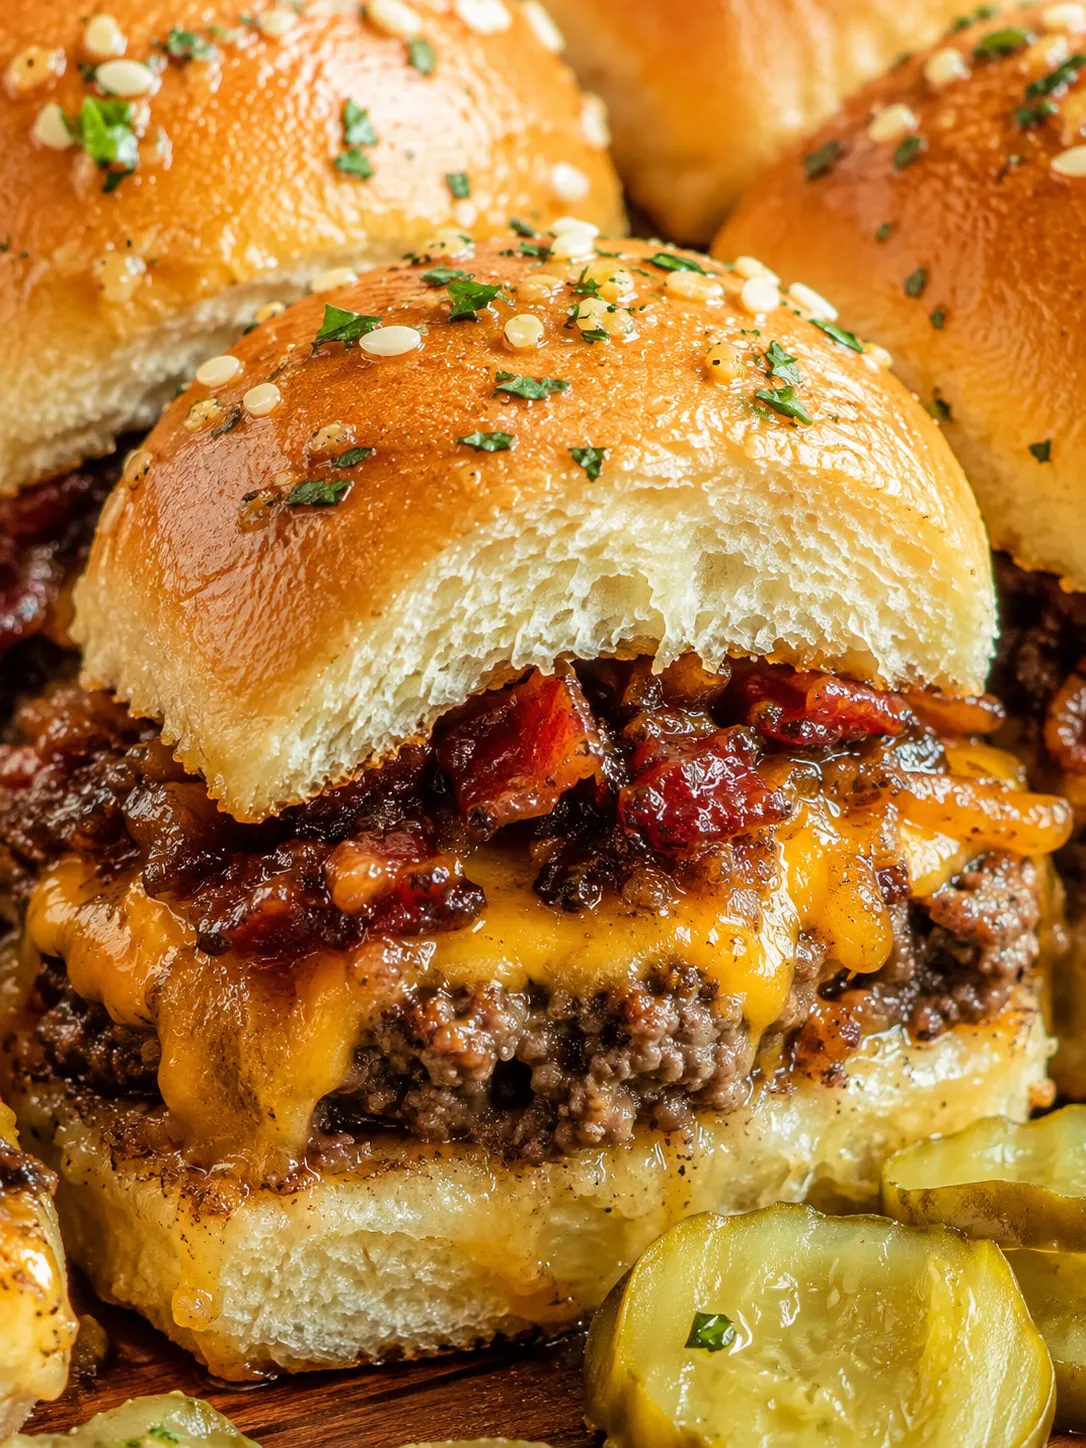
Bacon Jam Cheeseburger Sliders are the kind of party food that disappears before the tray cools. You get soft rolls, savory beef, melted cheddar, and a sticky bacon onion jam that tastes smoky, sweet, and sharp all at once.
I like baking them as one slab because it keeps the buns tidy and the filling evenly layered. The bacon jam is cooked until spoonable but thick, so it stays inside the slider instead of running onto the pan.
What Makes Them Rich
Start with beef that has enough fat to stay juicy, crisp bacon for the jam, and rolls that are soft but sturdy. The jam should taste balanced, not candy-sweet, so vinegar and mustard matter as much as brown sugar.
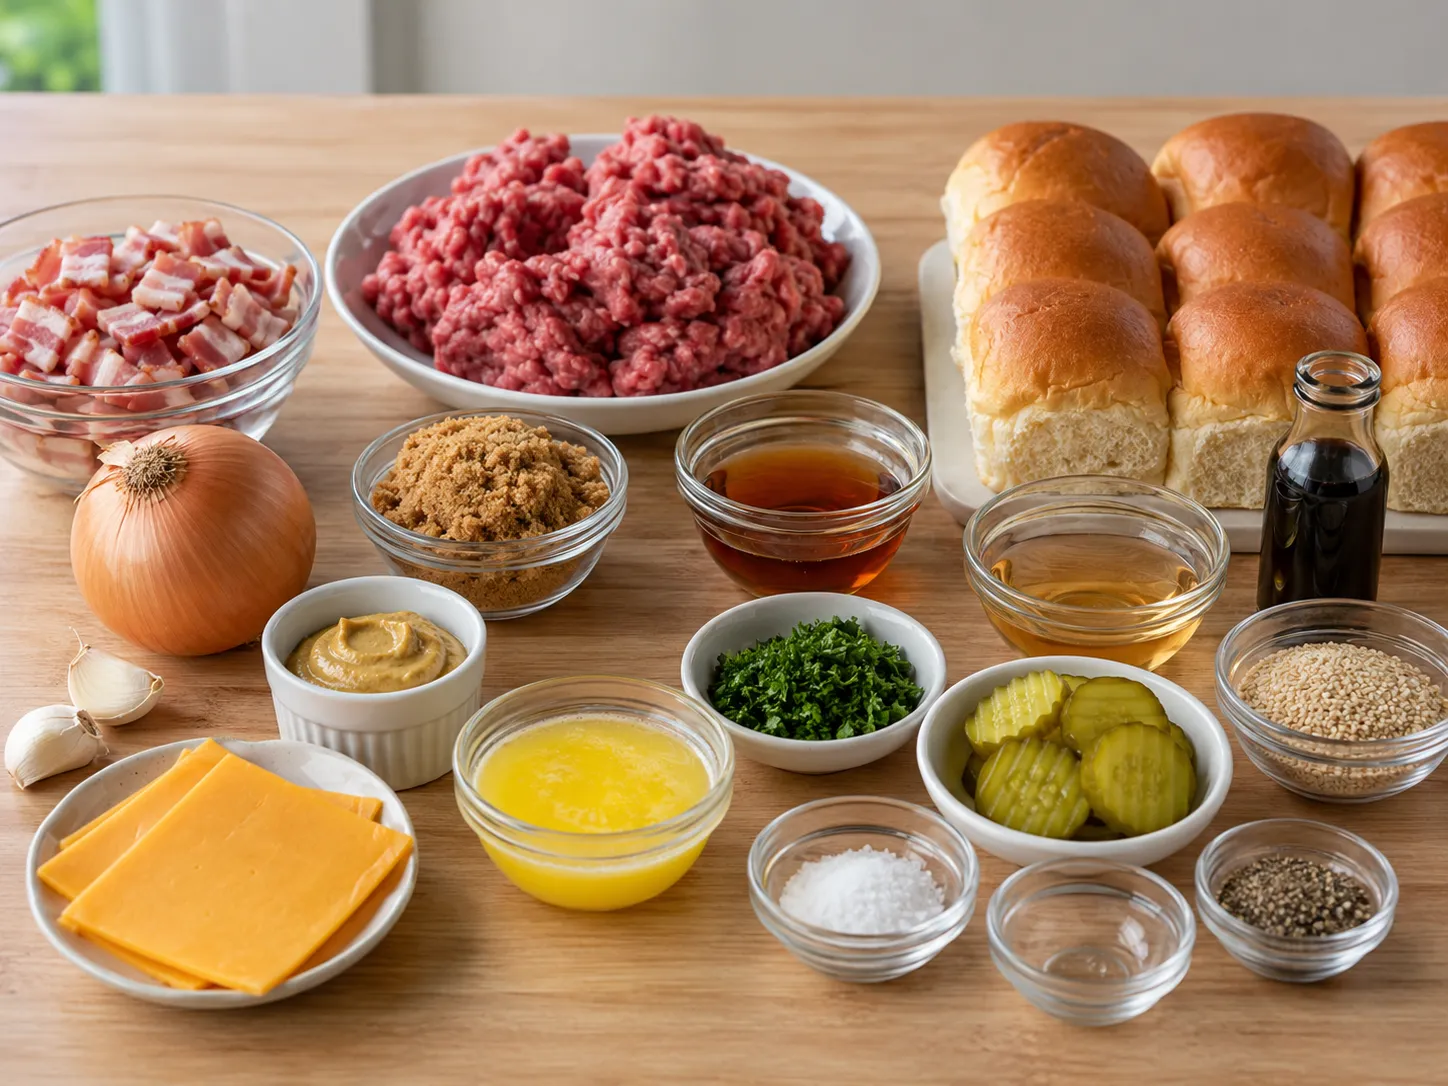
- Ground beef. An 80/20 blend gives the filling burger flavor and enough moisture for baking.
- Bacon. Crisp pieces form the smoky base of the jam and add chewy edges.
- Yellow onion. Slow cooking turns it sweet and soft, which helps the jam spread.
- Brown sugar and maple syrup. They give the bacon jam its glossy body and gentle sweetness.
- Apple cider vinegar. A small amount cuts through the richness and keeps the jam lively.
- Cheddar cheese. Slices melt into the beef and help hold the slider tray together.
- Slider rolls. Sweet dinner rolls or potato rolls both work, as long as they are connected in a slab.
- Garlic butter. Brushed over the tops so the rolls bake shiny, savory, and lightly crisp.
Bake Them As One Tray
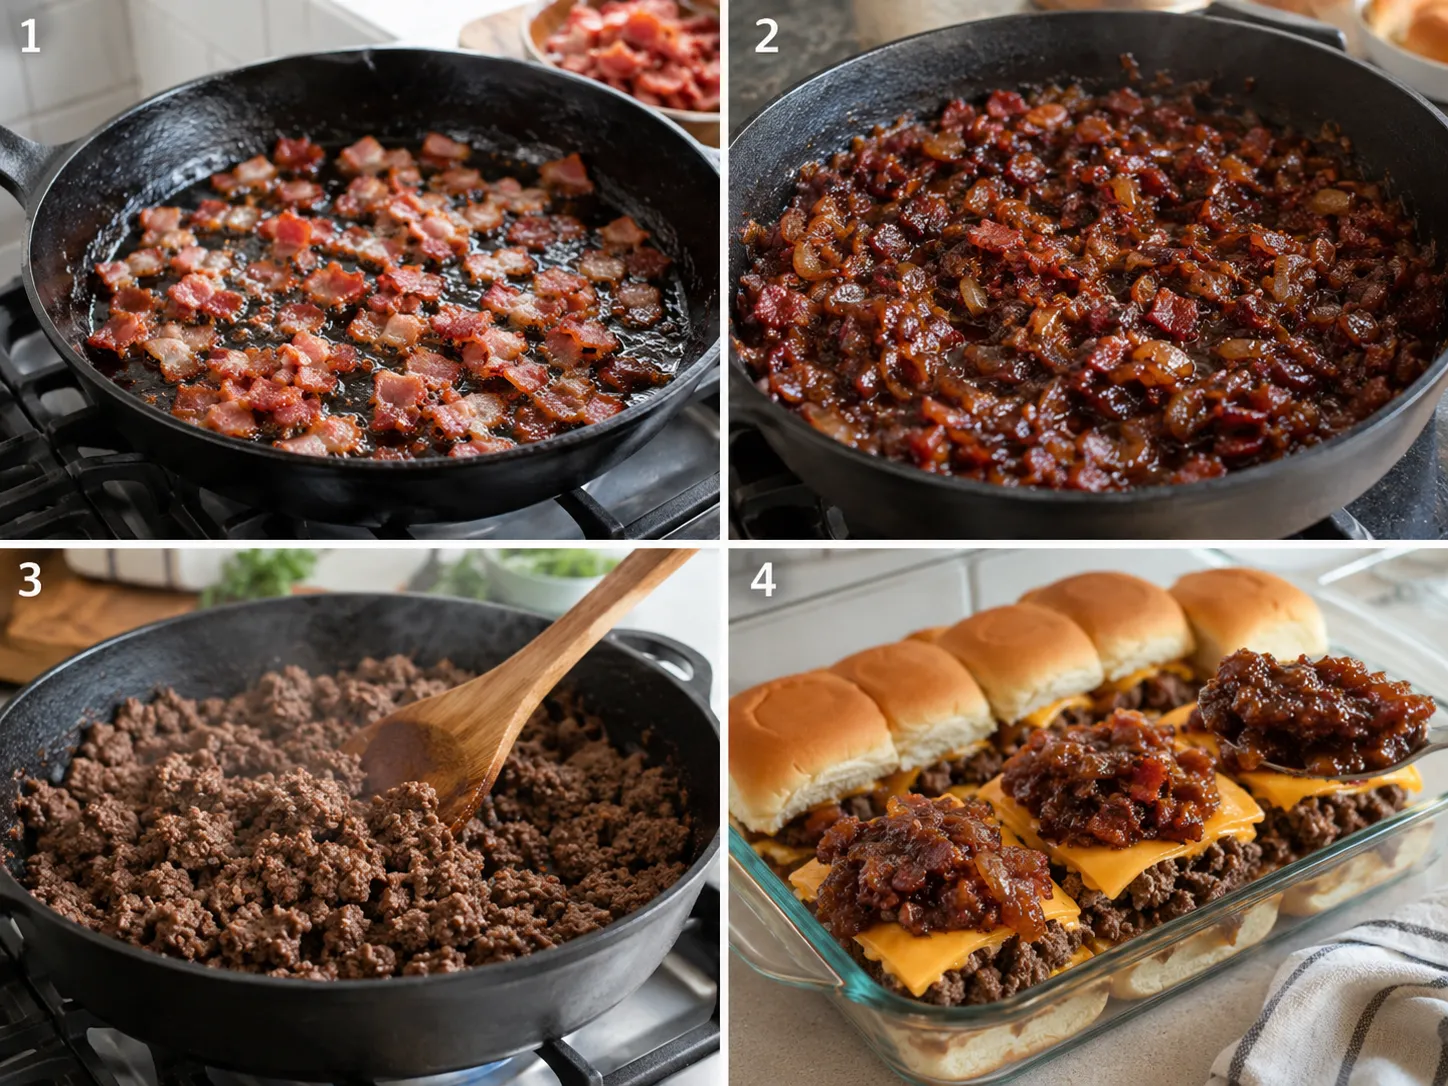
- Cook the bacon jam. Crisp the bacon first, then soften onion in the drippings. Simmer it with brown sugar, maple syrup, vinegar, mustard, and a little water until thick and glossy.
- Brown the beef. Cook the ground beef with seasoning until no pink remains. Drain well so the rolls do not soak up grease.
- Build the layers. Slice the roll slab in half. Add cheese, beef, more cheese, and bacon jam so every bite gets a little of each.
- Brush and bake. Cover the sliders for the first bake so the cheese melts. Uncover at the end so the tops turn golden.
- Rest before slicing. Give the tray 5 minutes out of the oven. The cheese settles and the squares cut cleaner.
Keep The Jam Spoonable
The bacon jam is ready when a spoon dragged through the skillet leaves a path for a second before the mixture slides back. If it is loose, the rolls turn messy. If it is dry, add a teaspoon or two of water and stir over low heat.
Do not rush the onions. They need time in the bacon fat to soften and turn sweet. Medium heat is enough. High heat scorches the sugar and makes the jam taste harsh.
Cook The Beef Safely
Because the beef is crumbled rather than cooked as whole steaks, it should reach 160°F. FoodSafety.gov lists 160°F for ground meat, and an instant-read thermometer is the easiest way to check.
Drain the beef after browning, then stir in Worcestershire and seasoning. That keeps the burger flavor bold without sending extra grease into the bread.
Smart Swaps That Work
Use American cheese for a diner-style melt, smoked gouda for a deeper flavor, or pepper jack if you want a little bite. For the rolls, Hawaiian-style buns lean sweeter while potato rolls taste more savory.
If you skip the maple syrup, use honey or a little extra brown sugar with a splash of water. For no bourbon, replace it with water or unsalted beef broth. The bacon jam still cooks down well.
Serving Without A Mess
Let the baked tray rest before cutting. Use a serrated knife and press lightly so the tops do not slide. Pickles are my favorite side because the acidity cuts the bacon and cheese.
For a party, keep extra warm bacon jam in a small bowl nearby. Serve the sliders with kettle chips, coleslaw, or a crisp green salad. They are rich, so simple sides work best.
Storage And Reheating
Refrigerate leftovers in a covered container. FoodSafety.gov recommends short refrigerator storage times for cooked leftovers and meat items, which you can check in the cold food storage chart. For best texture, eat these within 3 days.
Reheat covered at 325°F until hot, then uncover for a few minutes if the tops need crisping. The microwave works in a hurry, but the buns soften more.
Summary
Serve these sliders hot from the oven with pickles, chips, or a simple salad. The bacon jam can be made ahead, which makes party prep much easier.
FAQs
- Can I make the bacon jam ahead?
Yes. Make the bacon jam up to 3 days ahead and keep it covered in the refrigerator. Warm it gently before spreading so it loosens without turning runny.
- Can I use store-bought bacon jam?
You can. Choose a thick bacon jam or bacon onion spread so it stays in the sliders. If it tastes very sweet, add a small splash of apple cider vinegar to brighten it.
- What cheese melts best for these sliders?
Cheddar gives these Bacon Jam Cheeseburger Sliders a classic flavor. American cheese melts even smoother, and pepper jack works if you want heat.
- How do I keep the bottoms from getting soggy?
Put a layer of cheese on the bottom rolls before adding the beef. It acts like a barrier. Also drain the beef well and cook the bacon jam until it is thick.
- Can I grill these instead of baking them?
You can cook the beef on a griddle or grill, then assemble the rolls in a foil pan. Warm the covered pan over indirect heat until the cheese melts, then uncover briefly to toast the tops.
- How should I store leftovers?
Cool leftovers and refrigerate them in an airtight container within 2 hours. Reheat covered in a 325°F oven until hot, which keeps the rolls softer than microwaving.
