 Pin it
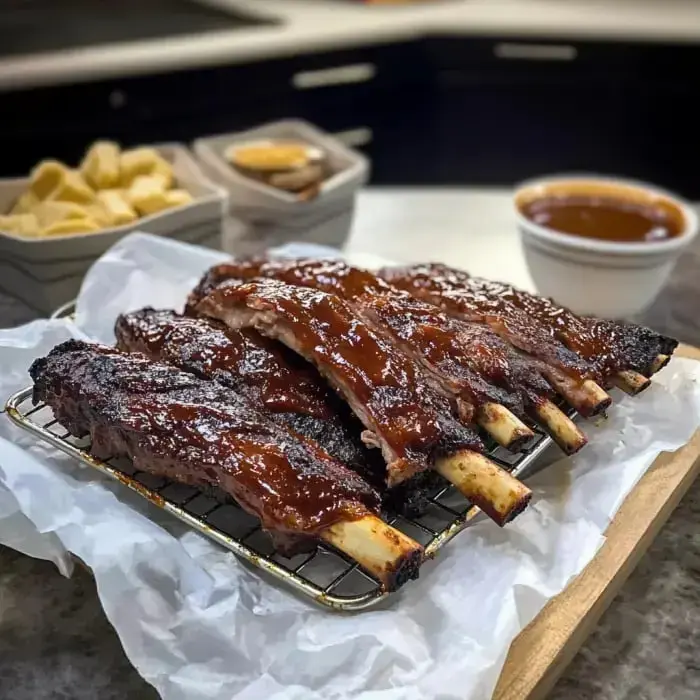
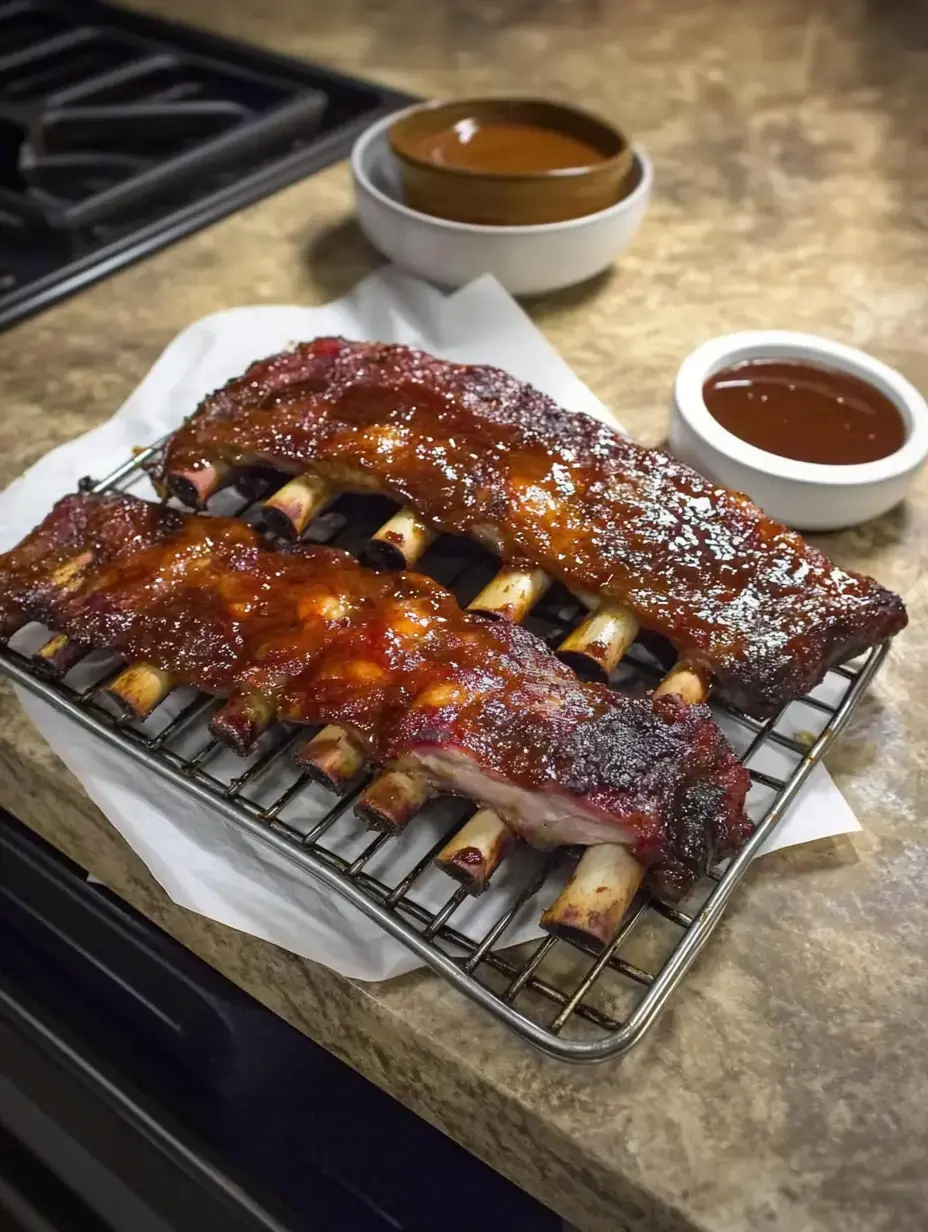
Let me share my secret to amazing ribs without a smoker! After lots of testing, I've figured out how to make incredibly tender, caramelized baby back ribs right in your oven. They're ready in just 2 hours and taste so good, nobody believes they're not from a smoker.
The Magic Behind These Ribs
Here's what makes these ribs special - I cut them into individual pieces before cooking. Sounds crazy, right? But trust me, this lets each rib get that perfect crispy outside while staying juicy inside. Plus, they cook way faster than whole racks!
What You'll Need
- Ribs: Grab baby backs - they're meatier and more tender.
- Oil: Just regular olive oil helps the seasoning stick.
- Your Rub: Store-bought works, but I'll share my mix too.
- Sauce: Use your favorite BBQ sauce, I won't judge!
- Secret Touch: A drizzle of honey makes them extra sticky good.
Let's Make Some Ribs
- Getting Your Ribs Ready
- First, take a good look at your ribs. Trim off any loose bits or extra fat - but leave some fat for flavor! Now here's the fun part: grab your sharpest knife and cut between each bone. Don't worry about being perfect; the meat will shrink as it cooks anyway. Some folks fuss with removing the membrane, but honestly? I usually skip it.
- Season Time
- Drizzle those ribs with oil and get your hands in there to coat them well. Now sprinkle on your seasoning - be generous! I like mixing smoked paprika, brown sugar, garlic powder, and a touch of cayenne. Pat it all over each rib like you mean it.
- Into The Oven
- Here's my setup: put a wire rack on a baking sheet - this keeps the ribs from sitting in their juices and getting soggy. Arrange your ribs meat side up, not touching each other. They're going into a 350°F oven for 45 minutes, then flip them and give them another 45. You want them tender but not falling apart.
- The Sticky Finish
- Now comes the fun part! Brush every rib with your BBQ sauce, then drizzle with honey. Flip and repeat on the other side. This double coating makes them extra delicious.
- Final Touch
- Last step - crank up that broiler! Watch them like a hawk though. 2-3 minutes per side is usually perfect to get that sticky, caramelized finish. You want the edges just starting to char.
Know Your Ribs
People always ask me why I insist on baby backs for this recipe. Here's the deal: they come from higher up on the pig, near the backbone (hence the name!). They're shorter than spare ribs but pack more meat and tend to be more tender. Sure, they cost a bit more, but for this method, they're worth every penny. The curved bone shape also helps them cook more evenly in the oven.
My Best Rib Tricks
Let me share some game-changers I've learned over the years. That wire rack isn't just fancy - it's crucial for air circulation and keeping your ribs from stewing in their juices. Skip the liquid smoke; it often tastes artificial. Want that extra crunch? Here's my secret: crush up some pork rinds really fine and mix them into your seasoning before the final broil. And never, ever wrap them in foil - we want bark, not steam!
Making It A Meal
When I serve these ribs, I go all out with the sides. My tangy coleslaw cuts through the richness perfectly. Warm cornbread for soaking up any extra sauce is a must. And don't forget some baked beans - I doctor up the canned ones with bacon and brown sugar. My kids fight over who gets the end pieces because they're extra sticky and caramelized!
Plan Ahead Tips
Want to make these for a party? Season the ribs the night before - they'll taste even better. You can even bake them earlier in the day, then just sauce and broil right before serving. If you're feeding a crowd, don't worry about cutting them perfectly - once they're all sauced up and sticky, nobody notices if some are bigger than others!
 Pin it
Worth The Effort
Look, I love traditional smoked ribs too, but these oven-baked beauties have become my go-to, especially during winter or rainy days. They're less fussy than smoking but still give you that perfect balance of tender meat and sticky glaze. Plus, your whole house will smell amazing while they cook. Give them a try - I bet they'll become your new favorite too!
Frequently Asked Questions
- → Why remove the membrane?
While optional, removing the membrane allows better flavor penetration and makes ribs easier to eat. Pull it off using paper towel for grip.
- → What temperature should ribs reach?
Cook to 175-185°F first, then finish to 200°F after glazing. This ensures meat is tender and pulls easily from bone.
- → Why broil at the end?
Broiling caramelizes the BBQ sauce and honey glaze, creating a delicious outer crust. Watch carefully to prevent burning.
- → Can I use different sauces?
Yes, substitute your favorite BBQ sauce and seasonings. The cooking method remains the same.
- → Do I need to wrap the ribs?
This method doesn't require wrapping. The moderate oven temperature keeps ribs moist while cooking.
