 Pin it
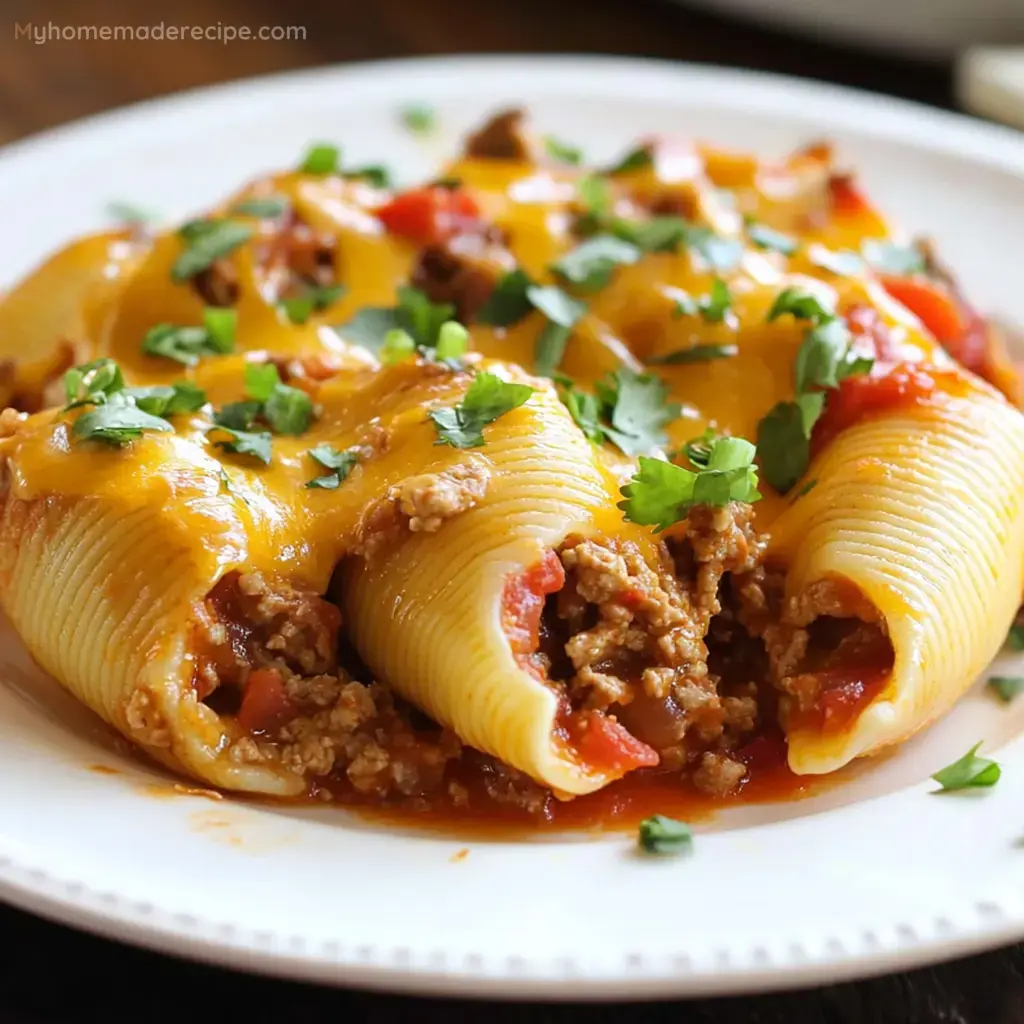
If you’re looking for a flavorful and hearty meal, these Mexican Stuffed Shells are an excellent choice. Combining the comfort of pasta with the bold flavors of Mexican cuisine, this dish is sure to become a family favorite. It’s filled with seasoned ground beef, creamy cheese, and topped with melted cheddar and Monterrey jack, all nestled in jumbo pasta shells. Whether you’re serving this for a weeknight dinner or a gathering, it’s sure to impress.
Ingredients
- Ground beef (or ground turkey): 1 pound, provides a hearty base for the stuffing.
- Taco seasoning: 1 package, adds a perfect blend of spices to the meat.
- Cream cheese: 4 ounces, makes the filling creamy and rich.
- Jumbo pasta shells: 20 shells, cooked al dente, create the perfect vessel for the meat filling.
- Salsa: 1 1/2 cups, adds moisture and flavor to the bottom of the baking dish.
- Taco sauce: 1 cup, provides additional flavor and moisture to the stuffed shells.
- Cheddar cheese: 1 cup, shredded, gives a sharp, tangy flavor.
- Monterrey jack cheese: 1 cup, shredded, adds a smooth, creamy texture to the dish.
- Green onions: 3, chopped, for a fresh, mild onion flavor as a garnish.
- Sour cream: For serving, adds a cool, creamy contrast to the warm, cheesy shells.
Instructions
- Step 1: Prepare the Ground Beef Filling
- Start by preheating your oven to 350°F (175°C). In a large skillet over medium heat, brown the ground beef (or ground turkey) until fully cooked. Drain any excess fat. Add the taco seasoning to the beef and prepare according to the package instructions. This typically involves adding some water and letting the mixture simmer. Once the seasoning is well mixed in, add the cream cheese. Cover the skillet and let the cheese melt into the beef. Stir until the mixture is smooth and creamy, then remove from heat and set aside to cool slightly.
- Step 2: Cook the Pasta Shells
- While the beef is cooking, bring a large pot of salted water to a boil. Add the jumbo pasta shells and cook according to the package instructions, usually about 9-12 minutes, until al dente. Drain the shells and lay them out individually on a cutting board or baking sheet to cool. This prevents them from sticking together and tearing.
- Step 3: Assemble the Dish
- Pour 1 1/2 cups of salsa into the bottom of a 9×13-inch baking dish, spreading it out evenly. Take each cooked pasta shell and fill it with 1-2 tablespoons of the beef and cream cheese mixture. Place the stuffed shells in the baking dish, open side up. Once all the shells are stuffed and placed in the dish, pour the taco sauce evenly over the top of the shells.
- Step 4: Bake the Stuffed Shells
- Cover the baking dish with aluminum foil and place it in the preheated oven. Bake for 15-20 minutes, allowing the flavors to meld together. After the initial baking time, remove the foil and sprinkle the shredded cheddar and Monterrey jack cheese over the top of the shells. Return the dish to the oven and bake for an additional 5-10 minutes, or until the cheese is melted and bubbly.
- Step 5: Serve and Garnish
- Once the cheese is fully melted and the dish is heated through, remove the baking dish from the oven. Garnish the stuffed shells with chopped green onions for a pop of color and fresh flavor. Serve the shells with a dollop of sour cream and extra salsa on the side if desired. Enjoy this cheesy, flavorful dish that’s sure to be a hit with everyone at the table.
Serving and Storage Tips
- Serve these Mexican Stuffed Shells immediately while they’re hot and the cheese is perfectly melted. They pair wonderfully with a simple side salad or some Mexican-style rice.
- If you have leftovers, store them in an airtight container in the refrigerator for up to 3 days. Reheat in the oven at 350°F (175°C) or in the microwave until warmed through.
- This dish also freezes well. Assemble the stuffed shells in the baking dish but hold off on baking. Cover tightly with foil and freeze for up to 2 months. When ready to bake, thaw in the refrigerator overnight and then bake as directed, adding an extra 10 minutes to the baking time if needed.
