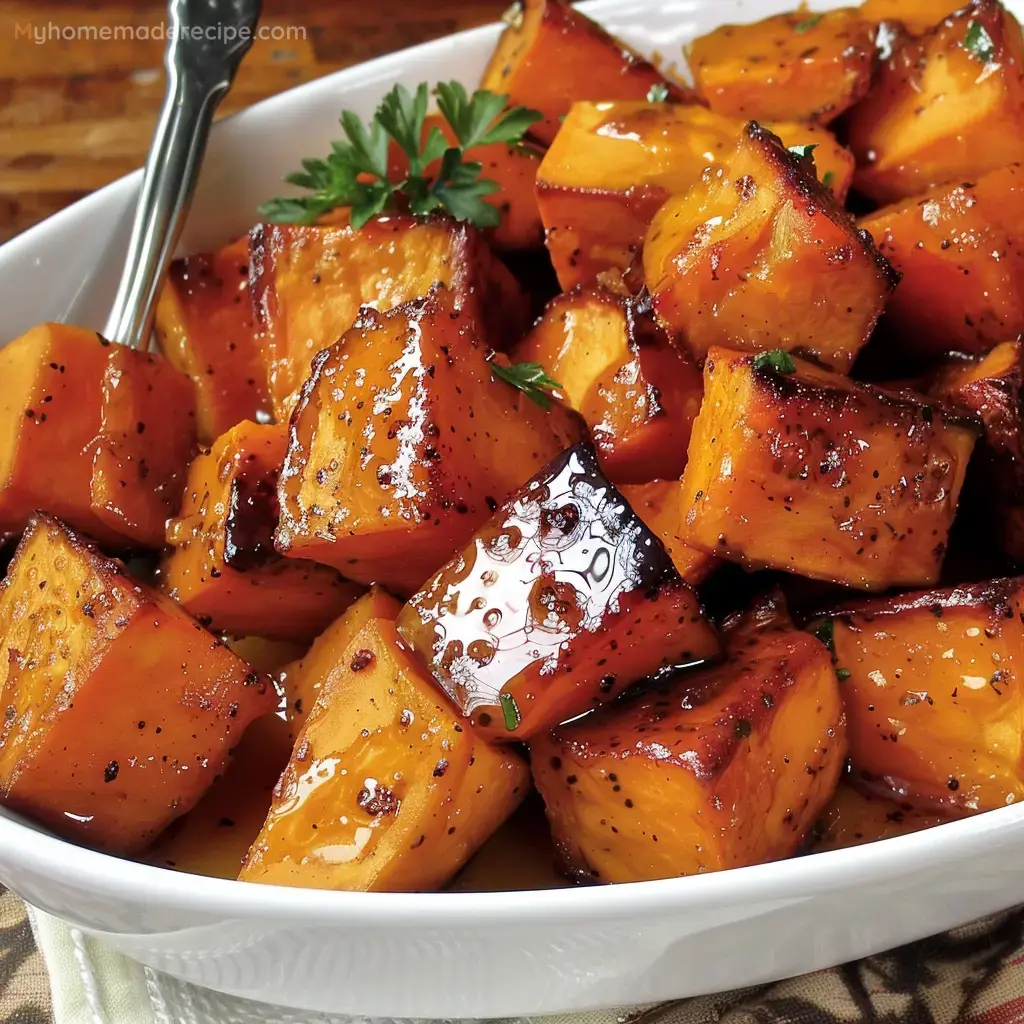
 Pin it
Ingredients
- Sweet Potatoes: 2 large, peeled and cut into 1-inch cubes. Provides a naturally sweet and starchy base.
- Honey: 2 tablespoons. Adds a natural sweetness and helps with caramelization.
- Olive Oil: 2 tablespoons. Ensures even roasting and adds a rich flavor.
- Cinnamon: 1 teaspoon. Adds warmth and a spicy-sweet flavor.
- Salt: ½ teaspoon. Enhances the natural sweetness of the potatoes.
- Pepper: ¼ teaspoon. Adds a slight kick and balances the sweetness.
Instructions
- Step 1:
- Preheat Oven: Preheat your oven to 375°F (190°C). This will ensure the sweet potatoes roast evenly and develop a beautiful caramelization.
- Step 2:
- Prepare Sweet Potatoes: In a large bowl, combine the honey, olive oil, cinnamon, salt, and pepper. Add the sweet potatoes to the bowl and toss to coat evenly. This step ensures each piece of sweet potato is well-flavored and ready for roasting.
- Step 3:
- Roast: Spread the coated sweet potatoes onto a large rimmed baking sheet in a single layer. This allows for even cooking and helps the sweet potatoes to become crispy on the outside.
- Step 4:
- Bake: Roast the sweet potatoes in the preheated oven for 25-30 minutes, stirring halfway through the cooking time. This ensures they cook evenly and develop a nice, caramelized exterior.
- Step 5:
- Serve: Once the sweet potatoes are tender and caramelized, remove them from the oven and serve immediately as a delicious side dish. Enjoy the perfect blend of sweet and savory flavors!
Serving and Storage Tips
- Serve Warm: For the best flavor and texture, serve the sweet potatoes warm, right out of the oven. The warmth enhances the caramelization and brings out the sweetness.
- Pair with Main Dishes: These sweet potatoes pair wonderfully with roasted chicken, grilled meats, fish, or vegetarian dishes. They also complement holiday meals, such as Thanksgiving or Christmas dinners.
- Top with Garnishes: Add a sprinkle of fresh herbs like parsley or thyme for a pop of color and extra flavor. You can also sprinkle chopped nuts like pecans or walnuts for added crunch.
- Use as a Salad Topper: Toss the roasted sweet potatoes into a mixed greens salad with goat cheese, dried cranberries, and a balsamic vinaigrette for a hearty and flavorful salad.
- Incorporate into Grain Bowls: Add these sweet potatoes to grain bowls with quinoa, farro, or brown rice, along with your favorite veggies, proteins, and a tahini or yogurt dressing.
Storage Tips
- Refrigerate Leftovers: Store any leftovers in an airtight container in the refrigerator. They will stay fresh for up to 4 days. Ensure the container is sealed well to maintain freshness.
- Reheat Properly: To reheat, spread the sweet potatoes on a baking sheet and warm them in a preheated oven at 350°F until heated through. Alternatively, you can microwave them in a microwave-safe dish in short bursts, stirring occasionally.
- Freeze for Longer Storage: For longer storage, you can freeze the roasted sweet potatoes. Spread them in a single layer on a baking sheet and freeze until solid, then transfer to a freezer-safe bag or container. They can be frozen for up to 3 months. Reheat directly from frozen in a 375°F oven until heated through.
- Avoid Overcrowding: When storing in the refrigerator, place the sweet potatoes in a single layer in the container to prevent them from becoming mushy.
- Label and Date: Always label your storage containers with the date to keep track of freshness, especially when freezing.
