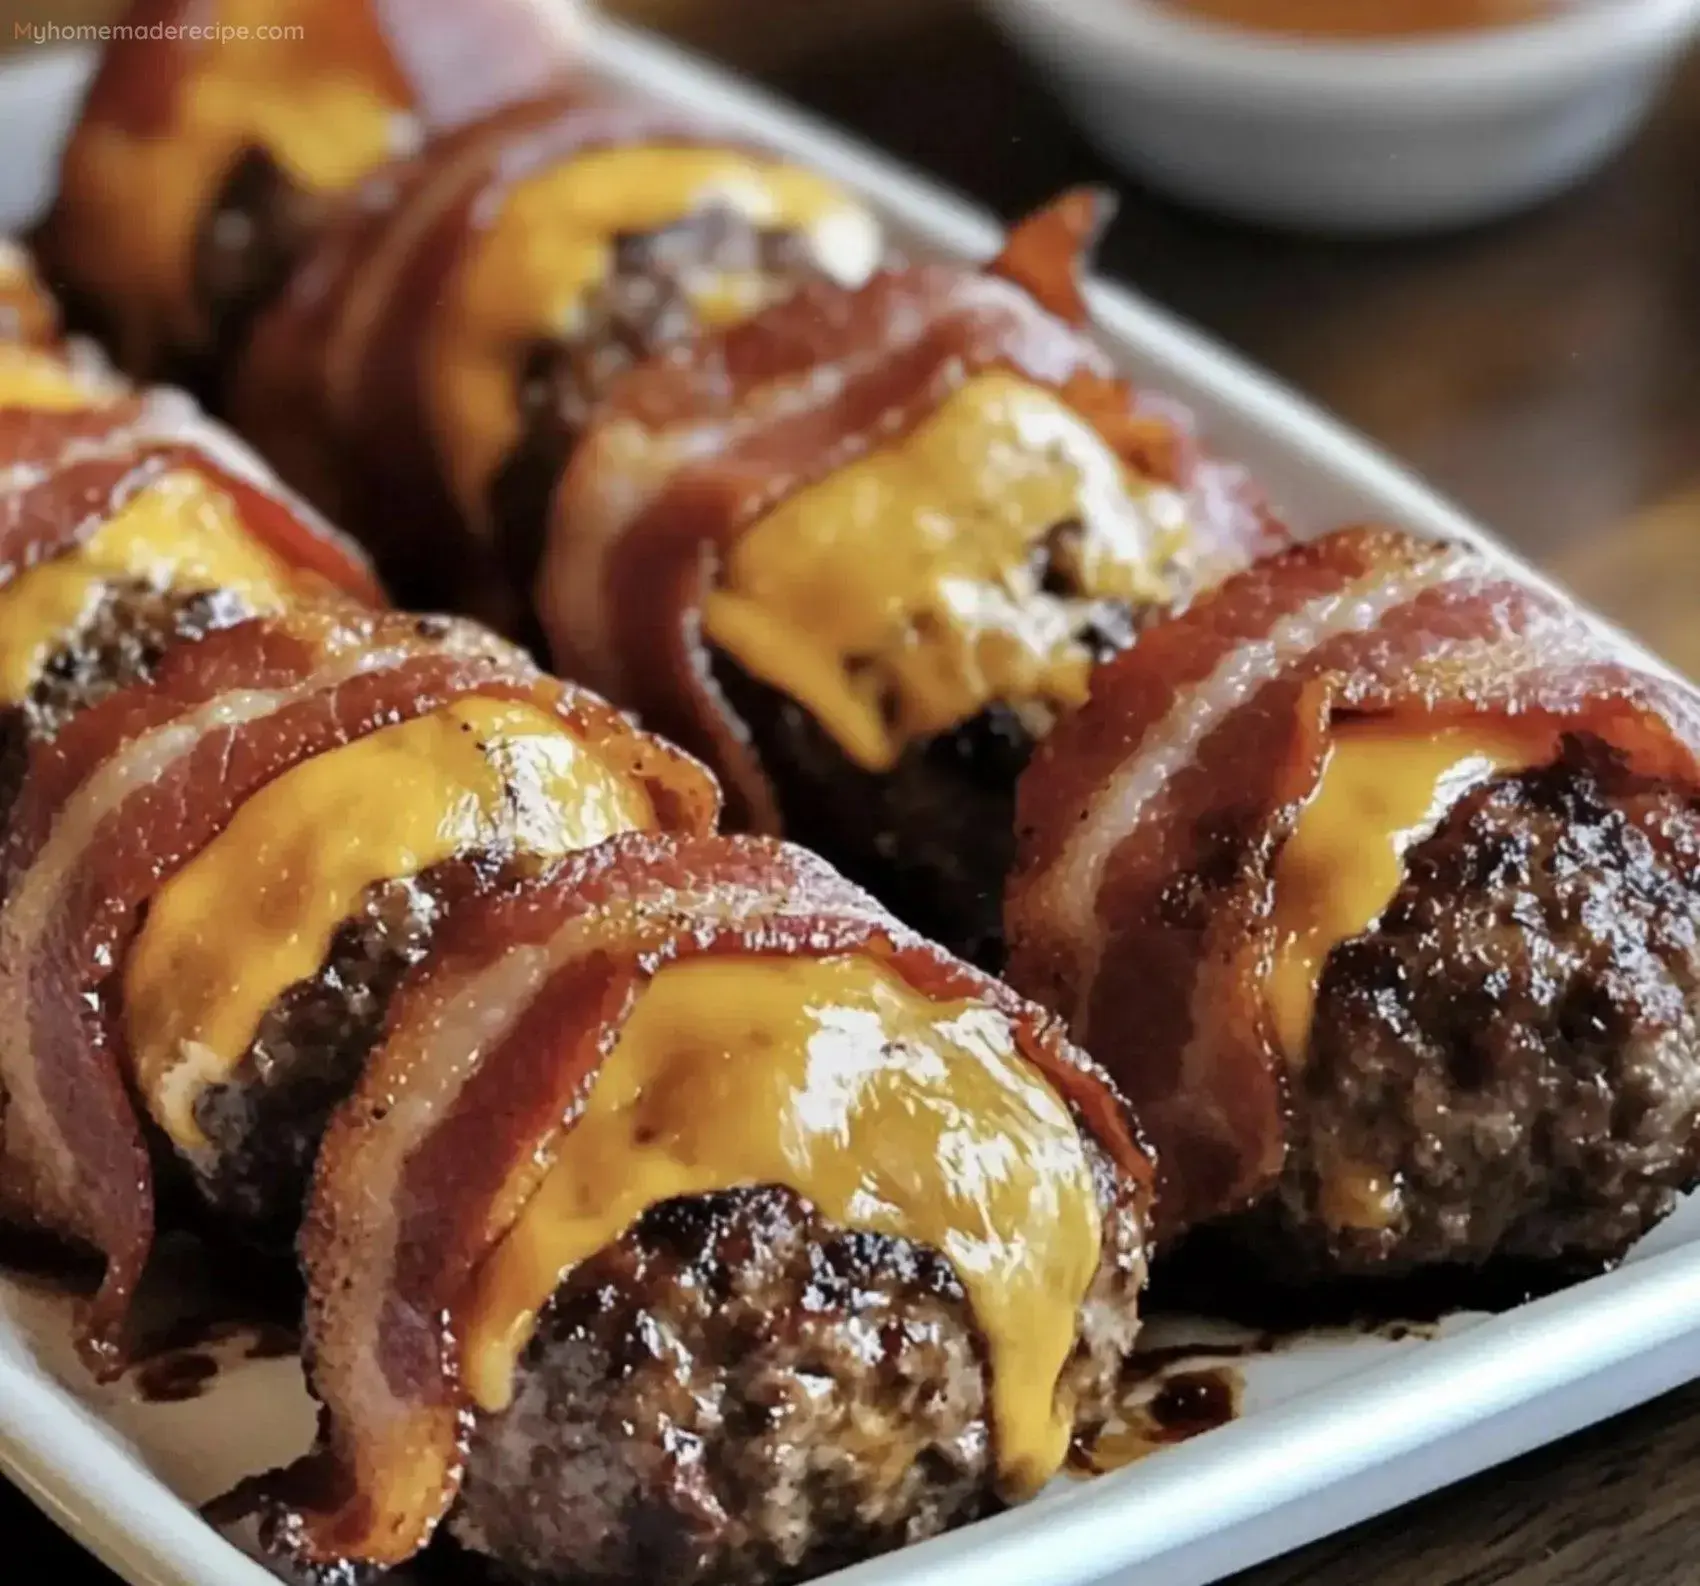
Bacon Cheeseburger Bombs are a delightful twist on the classic cheeseburger, featuring juicy beef, melted cheddar, and crispy bacon all wrapped into bite-sized perfection. Perfect for game days, parties, or a fun family dinner, these cheesy bombs are sure to impress. Let’s start by gathering the ingredients you'll need to create these irresistible treats.
INGREDIENTS
- Ground Beef: 1 pound, seasoned with salt, pepper, garlic powder, and onion powder, forming the base of these tasty bombs.
- Cheddar Cheese: 8 ounces, cut into cubes, providing a melty, cheesy center in every bite.
- Bacon: 12 slices, wrapped around each beef ball to add a crispy, smoky flavor.
- Toothpicks: Used to secure the bacon around the beef and cheese, ensuring everything stays in place during cooking.
- For the Dipping Sauce:
- Mayonnaise: 1/2 cup, the creamy base for the sauce.
- Ketchup: 2 tablespoons, adding a tangy sweetness to the sauce.
- Sweet Pickle Relish: 2 tablespoons, for a touch of sweetness and texture.
- White Vinegar: 1 teaspoon, providing a slight tang.
- Sugar: 1 teaspoon, to balance the flavors.
- Salt: 1/4 teaspoon, for seasoning.
- Paprika: 1/4 teaspoon, adding a subtle smoky flavor.
INSTRUCTIONS
- Step 1: Preheat and Prepare
-
- Preheat your grill or oven to 375°F (190°C).
- In a bowl, mix the ground beef with salt, pepper, garlic powder, and onion powder until well combined.
- Step 2: Form the Cheeseburger Bombs
-
- Divide the seasoned ground beef into 12 equal portions.
- Flatten each portion into a small patty.
- Place a cube of cheddar cheese in the center of each patty, then carefully fold the beef around the cheese to form a ball.
- Step 3: Wrap with Bacon
-
- Wrap each beef and cheese ball with a slice of bacon, ensuring that the bacon fully covers the beef.
- Secure the bacon in place with a toothpick.
- Step 4: Cook the Bombs
-
- Place the bacon-wrapped bombs on the grill or a baking sheet if using the oven.
- Cook for 25-30 minutes, or until the bacon is crispy and the beef is cooked through.
- Step 5: Prepare the Dipping Sauce
-
- In a bowl, combine mayonnaise, ketchup, sweet pickle relish, white vinegar, sugar, salt, and paprika.
- Stir until well mixed and smooth.
- Step 6: Serve and Enjoy
-
- Remove the bacon cheeseburger bombs from the grill or oven.
- Serve hot with the prepared dipping sauce on the side.
Serving and Storage Tips
Bacon Cheeseburger Bombs are best served fresh off the grill or out of the oven, while the cheese is still gooey and the bacon is crispy. Pair them with the homemade dipping sauce for an extra burst of flavor. If you have leftovers, store them in an airtight container in the refrigerator for up to 3 days. To reheat, place them in the oven at 350°F (175°C) until warmed through and the bacon is crispy again.
Helpful Notes
These Bacon Cheeseburger Bombs can be customized with different types of cheese or additional seasonings to suit your taste. Try using pepper jack cheese for a spicy kick or adding a slice of jalapeño inside each bomb for extra heat. If you’re short on time, these can also be cooked in an air fryer for a quicker cooking method, but be sure to keep an eye on them as cooking times may vary. For an added touch, serve these bombs on a bed of lettuce with a side of pickles and extra sauce, turning them into a full meal.
Tips from well-known chefs
Chef Gordon Ramsay: Recommends using high-quality beef with a good fat content to keep the bombs juicy and flavorful.
Chef Ina Garten: Suggests making the dipping sauce a day ahead to allow the flavors to meld together, enhancing the overall taste.
Chef Bobby Flay: Advises grilling over indirect heat to avoid flare-ups from the bacon fat, ensuring an even cook without burning.
 pin it
