Making homemade bread is simpler than you might think! With just a few basic ingredients and some easy steps, you can create warm, delicious loaves right in your kitchen. It's a great way to fill your home with mouthwatering aromas while treating yourself and your loved ones to fresh bread. Whether for sandwiches or to enjoy with dinner, homemade bread has a special charm.
There's nothing like the smell of fresh bread. It makes you think of cozy kitchens and good memories. If you've ever wanted to make this magic happen at home, you're in the right spot. This guide will show you how to make tasty homemade bread that'll impress everyone. Even if you're new to baking, you'll see that making a good loaf from scratch isn't as hard as you might think.
One of the best things about making your own bread is that you control what goes in it. You can skip the weird stuff and focus on good, simple ingredients. Homemade bread tastes so much better, and once you've had a slice of warm, fluffy bread right out of your oven, you might not want to buy bread from the store again.
So, roll up your sleeves and let's start baking. Whether you want to make something special for your family or just enjoy the fun of making bread, this recipe is great for you. Let's make the yummiest loaf of bread you've ever had!
What You Need for Your Homemade Bread
Before we start mixing and kneading, let's look at what you need for this bread recipe. Each thing is important for making that perfect loaf, so it's good to know what they do:
Active Dry Yeast
Yeast is super important for making bread. It makes the bread rise and gives it that nice, airy texture. You need 2¼ teaspoons of active dry yeast, which is one packet. Make sure your yeast is fresh and working for the best results. If you're not sure, you can test it by mixing it with some warm water and sugar – if it gets foamy after a few minutes, it's good to use.
Warm Water
You need 2¼ cups of warm water to wake up the yeast and make the dough. The water should be between 105°F and 115°F. If it's too hot, it can kill the yeast, and if it's too cold, the yeast won't wake up properly. Think of it like making the yeast comfy so it can do its job.
Sugar
You need a quarter cup of sugar plus a pinch more. The sugar does two things: it feeds the yeast to help it grow and make bubbles, and it makes the bread a little bit sweet. Don't worry though – the bread won't be super sweet in the end.
Salt
One tablespoon of salt is needed for flavor. Without salt, bread can taste pretty boring. Salt also helps control how much the yeast grows and makes the bread's texture better.
Vegetable Oil
Two tablespoons of vegetable oil make the bread moist and soft. You can use other plain-tasting oils like canola or sunflower oil if you want.
Bread Flour
You need between 5½ to 6½ cups of bread flour. Bread flour has more protein than regular flour, which helps make the bread chewy and rise higher. If you don't have bread flour, you can use regular flour, but the bread might feel a bit different.
Butter (If You Want)
You don't have to, but brushing melted butter on top of your bread after baking makes it look shiny and taste even better.
How to Make Your Homemade Bread, Step by Step
Now that we've got everything we need, let's start baking! Follow these steps carefully, and you'll end up with two nice loaves of homemade bread.
Step 1: Waking Up the Yeast
In a big bowl or a stand mixer bowl, mix the 2¼ teaspoons of active dry yeast with 2¼ cups of warm water. Add a pinch of sugar to give the yeast something to eat. Let this sit for about 5-10 minutes until it gets bubbly and foamy. This step is really important because it makes sure your yeast is awake and ready to work. You should see foam on top of the water, which means the yeast is alive and kicking.
Step 2: Mixing the Dough
Once your yeast mix is bubbly, it's time to add the other stuff. Pour in the ¼ cup of sugar, 1 tablespoon of salt, and 2 tablespoons of vegetable oil. Then, add 4 cups of the bread flour. Mix this all up until it's smooth. A stand mixer with a dough hook is really handy here, but you can mix by hand if you want. If you're mixing by hand, use a wooden spoon or your hands to mix everything until it looks shaggy.
Step 3: Kneading the Dough
Now comes the fun part – kneading! Slowly add the rest of the flour, ½ cup at a time, until you have a soft, smooth dough. You might not need all the flour, so pay attention to how the dough feels. It should be a bit sticky but not so sticky that it sticks to your fingers. Knead the dough for 5-7 minutes until it's smooth and stretchy. This helps make the bread's structure.
If you're kneading by hand, put the dough on a lightly floured surface. Use your hand to push the dough away from you, then fold it back over. Turn the dough a quarter turn and do it again. Keep kneading until the dough is smooth and stretchy, about 8-10 minutes. If you're using a stand mixer, let it run on medium speed for about 5-7 minutes.
Step 4: First Rise
After kneading, shape your dough into a ball and put it in a lightly oiled bowl. Turn the dough once to coat it with oil, then cover the bowl with plastic wrap. Let the dough rise in a warm place without drafts for about an hour, or until it's doubled in size. This first rise lets the yeast make bubbles in the dough.
The best temperature for rising dough is between 75°F and 85°F. If your kitchen is cool, you can make a warm spot by putting the bowl in a turned-off oven with a pan of hot water on the bottom rack.
Step 5: Shaping the Loaves
Once the dough has doubled, gently punch it down to let the air out. This step is called "degassing" and it's important to get rid of big air bubbles that can make holes in your finished bread. Cut the dough in half and shape each half into a rectangle about 8 inches wide. Roll each rectangle up tightly, starting from the short end, to make two cylinders. Pinch the seams and ends to close them. Put each cylinder, seam side down, into greased 9x5 inch loaf pans.
Step 6: Second Rise
Cover the loaf pans with plastic wrap and let the dough rise again for about an hour, or until the dough has risen ½ to 1 inch above the top of the pans. This second rise, also called proofing, gives the bread its final shape and texture. The dough should look puffy and soft. If you gently poke it with your finger, the dent should slowly come back.
Step 7: Baking
Heat your oven to 375°F while the dough is on its second rise. Once the dough has risen enough, take off the plastic wrap and bake the loaves for 30-35 minutes. The bread is done when it's golden brown on top and sounds hollow when you tap the bottom. If you have a kitchen thermometer, the inside should be about 190°F.
To make sure it browns evenly, turn the pans around halfway through baking. If the tops are getting too brown too fast, you can cover them loosely with aluminum foil for the last 10 minutes of baking.
Step 8: Finishing Up
For an extra treat, brush the tops of the hot loaves with melted butter as soon as they come out of the oven. This makes the crust shiny and adds a rich, buttery flavor. Let the bread cool on a wire rack for at least 15 minutes before cutting – we know it's hard to wait, but letting it cool a bit helps the texture set right.
Enjoying Your Fresh Bread
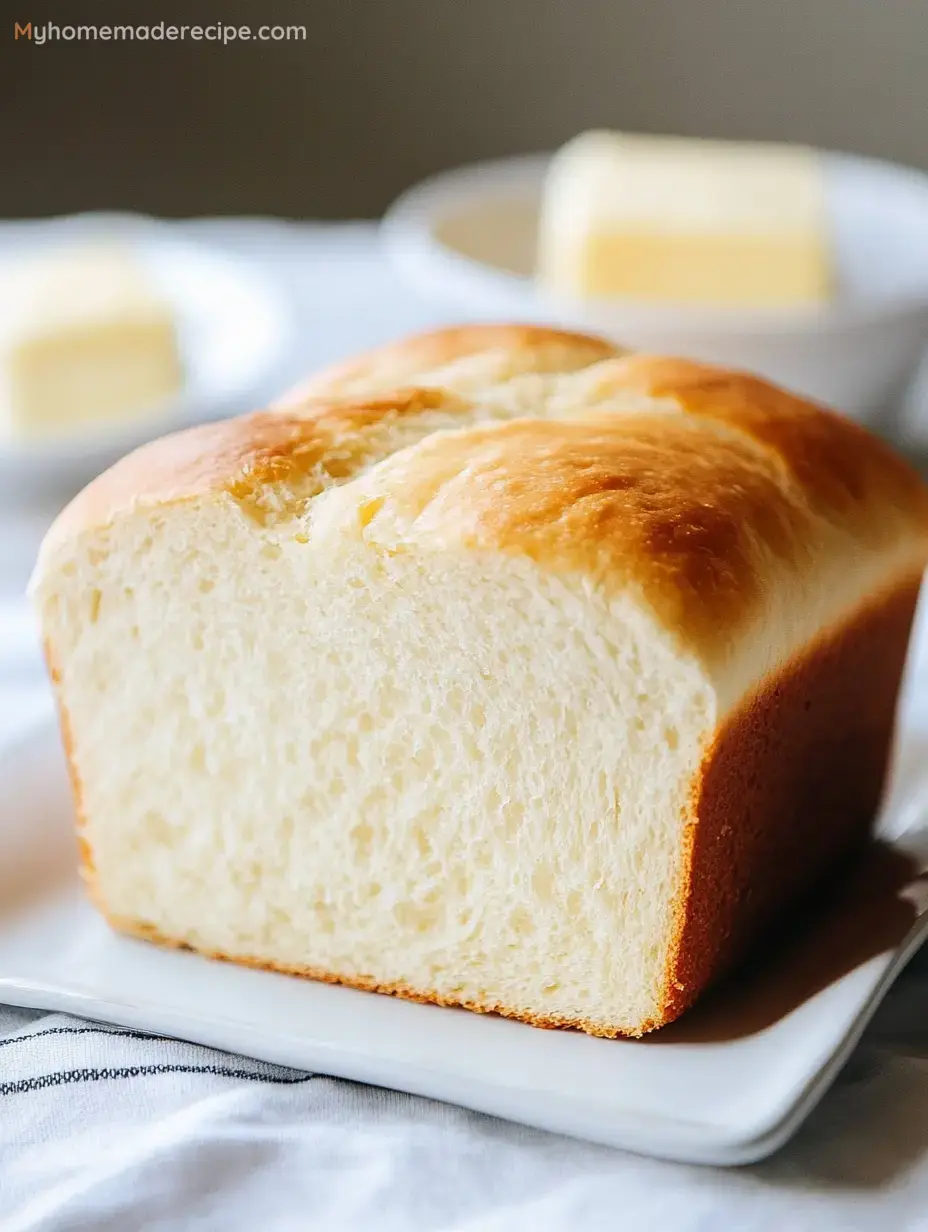
Good job! You've just baked two great loaves of homemade bread. Your kitchen probably smells amazing by now, and it's finally time to enjoy what you've made. Cut into your bread and watch the steam come out of the soft, fluffy inside. Spread it with butter, jam, or whatever you like, or use it to make the best sandwiches ever.
Remember, homemade bread is best when it's fresh, but if you have leftovers, you can keep them in a sealed container or bag at room temperature for up to 3 days. For longer storage, slice the bread and freeze it for up to 3 months. Just thaw and toast when you want to eat it again.
Making your own bread isn't just about the end result – it's about the process, learning, and the good feeling of making something yummy with your own hands. Each time you make this recipe, you'll get better and might even start trying different flavors and types.
So, have fun baking, enjoy kneading the dough, and savor the taste of fresh bread. Your family and friends will be impressed, and you might not want to buy bread from the store again. Happy baking!
Fixing Common Bread-Making Problems
Even with good recipes and plans, sometimes things don't work out quite right. Here are some common issues you might run into when making bread, and how to fix them:
Bread Doesn't Rise
- Check if your yeast is too old. Old yeast might not work anymore.
- Make sure your water isn't too hot, as it can kill the yeast.
- Check that your rising spot isn't too cold.
Heavy or Dense Bread
- You might have added too much flour. The dough should be a bit sticky.
- Make sure you've kneaded the dough long enough to develop the gluten.
- Give it enough time for both rises.
Bread Falls During Baking
- Your dough might have risen too much. Watch it carefully during the second rise.
- Make sure your oven is hot before putting the bread in.
- Don't open the oven door during the first 15 minutes of baking.
Trying More Bread-Making Skills
Once you've got the hang of this basic bread recipe, you might want to try other types of bread. Here are some ideas to get you started:
Whole Wheat Bread
Use some or all whole wheat flour instead of bread flour for a nuttier flavor and more fiber.
Herb and Garlic Bread
Add chopped garlic and your favorite herbs to the dough for a savory twist.
Cinnamon Raisin Bread
Mix in cinnamon and raisins for a sweet breakfast bread.
Sourdough Bread
Try making a sourdough starter for tangy, fancy loaves.
Remember, making bread is both an art and a science. Don't worry if your first few loaves aren't perfect. With practice, you'll get a feel for the dough and make amazing bread that's as good as any bakery. Enjoy the process and the yummy results of your homemade bread!