 Pin it
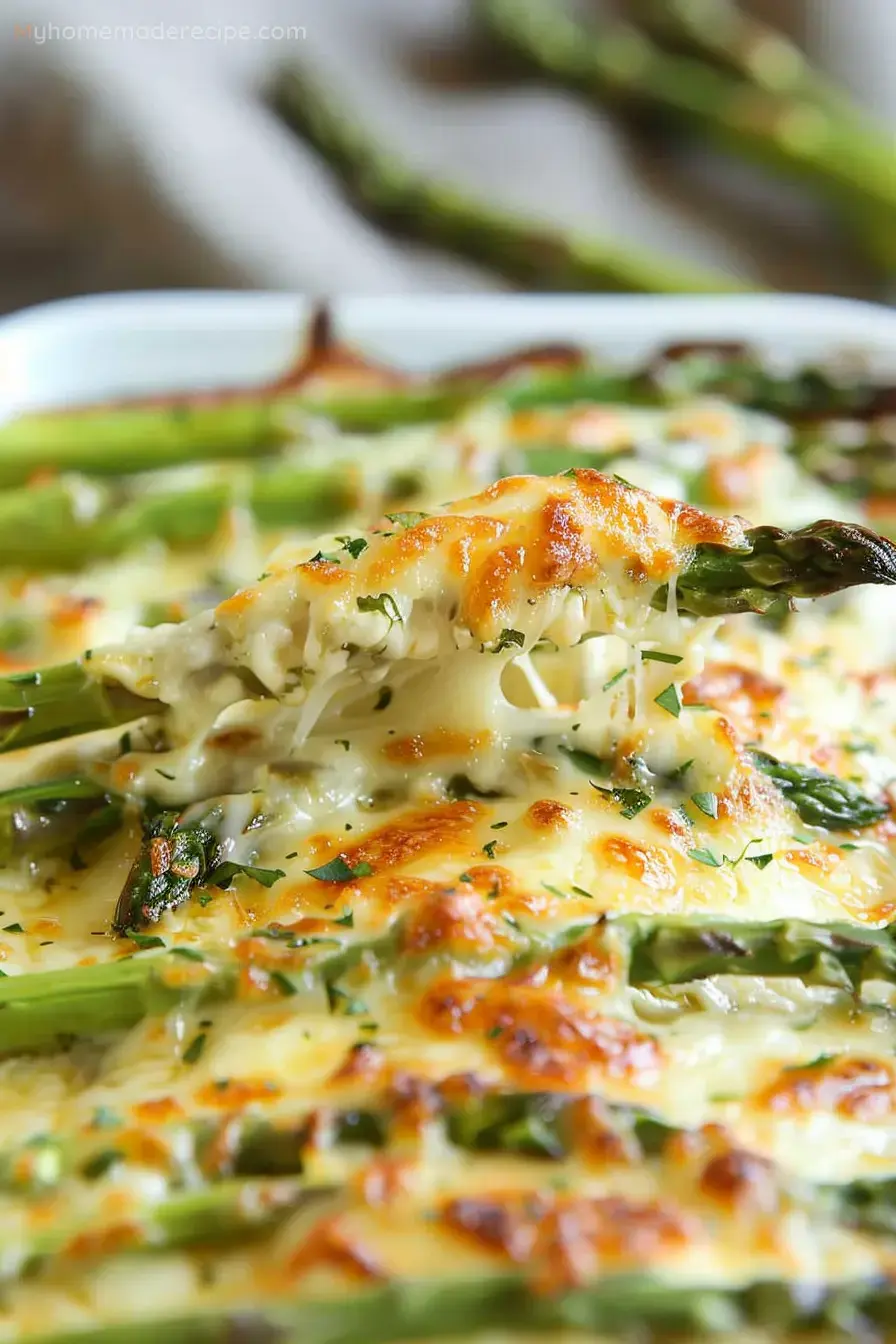
Cheesy Baked Asparagus is a delightful and easy-to-make side dish that brings together the fresh, crisp flavors of asparagus with the rich, creamy goodness of melted cheese. This dish is perfect for any occasion, whether it's a family dinner, a holiday feast, or a casual weeknight meal. The combination of heavy cream, garlic, Parmesan, and mozzarella creates a savory and indulgent flavor profile that complements the natural taste of asparagus. Let's dive into the ingredients that make this dish so irresistible.
Ingredients
Here’s a detailed look at the ingredients you’ll need to prepare Cheesy Baked Asparagus:
- 2 lb. asparagus, stalks trimmed: Fresh asparagus is the star of this dish. Make sure to trim the woody ends for the best texture and flavor.
- 3/4 cup heavy cream: Adds richness and a creamy texture that binds the cheese and garlic together.
- 3 cloves garlic, minced: Garlic provides a wonderful aromatic flavor that enhances the overall taste of the dish.
- Kosher salt: Essential for seasoning and bringing out the natural flavors of the asparagus and cheese.
- Freshly ground black pepper: Adds a subtle heat and enhances the savory notes of the dish.
- 1 cup freshly grated Parmesan: Parmesan cheese melts beautifully and adds a sharp, nutty flavor that pairs well with asparagus.
- 1 cup shredded mozzarella: Mozzarella adds a creamy, gooey texture that makes this dish incredibly indulgent.
- Red pepper flakes, for garnish (optional): Adds a touch of heat and color, making the dish visually appealing and adding a spicy kick.
Instructions
Step 1: Preheat the Oven
Preheat your oven to 400°F (200°C). Ensuring your oven is properly preheated helps the asparagus cook evenly and the cheese to melt perfectly.
Step 2: Prepare the Asparagus
Trim the stalks of the asparagus to remove the tough, woody ends. Place the trimmed asparagus spears in a 9"x13" baking dish, arranging them evenly in a single layer. This will allow the asparagus to cook uniformly.
Step 3: Add the Cream and Garlic
Pour the 3/4 cup of heavy cream over the asparagus, ensuring that the spears are evenly coated. Scatter the minced garlic over the top. The heavy cream will help the cheese adhere to the asparagus and create a rich, creamy base for the dish.
Step 4: Season
Generously season the asparagus with kosher salt and freshly ground black pepper. Proper seasoning is key to enhancing the natural flavors of the ingredients and balancing the richness of the cream and cheese.
Step 5: Add the Cheese
Sprinkle 1 cup of freshly grated Parmesan and 1 cup of shredded mozzarella evenly over the asparagus. The Parmesan adds a sharp, nutty flavor, while the mozzarella provides a creamy, melt-in-your-mouth texture. If you enjoy a bit of heat, sprinkle red pepper flakes over the top for an optional spicy kick.
Step 6: Bake
Place the baking dish in the preheated oven and bake for 25 to 30 minutes, or until the cheese is golden and bubbly and the asparagus is tender. The cheese should form a delicious, golden crust on top, while the asparagus becomes perfectly cooked and flavorful.
Step 7: Serve
Once baked, remove the dish from the oven and let it cool for a few minutes before serving. This allows the cheese to set slightly, making it easier to serve. Transfer the cheesy asparagus to a serving platter or serve directly from the baking dish.
Serving and Storage Tips
Cheesy Baked Asparagus is best enjoyed fresh out of the oven, but it can also be stored and reheated for later enjoyment. Here are some tips to help you serve and store this delicious side dish:
- Serving: Serve Cheesy Baked Asparagus immediately after baking to enjoy the gooey, melted cheese and tender asparagus at its best. This dish pairs wonderfully with a variety of main courses, such as grilled chicken, steak, or fish. For a complete meal, consider serving it alongside roasted potatoes or a fresh salad.
- Storage: If you have leftovers, allow the asparagus to cool completely before storing. Transfer the leftovers to an airtight container and refrigerate for up to 3 days. This makes it easy to reheat and enjoy later.
- Reheating: To reheat, place the asparagus in an oven-safe dish and warm it in a 350°F (175°C) oven for about 10-15 minutes, or until heated through. Alternatively, you can reheat individual portions in the microwave for 1-2 minutes, though the oven method helps maintain the crispy cheese topping.
