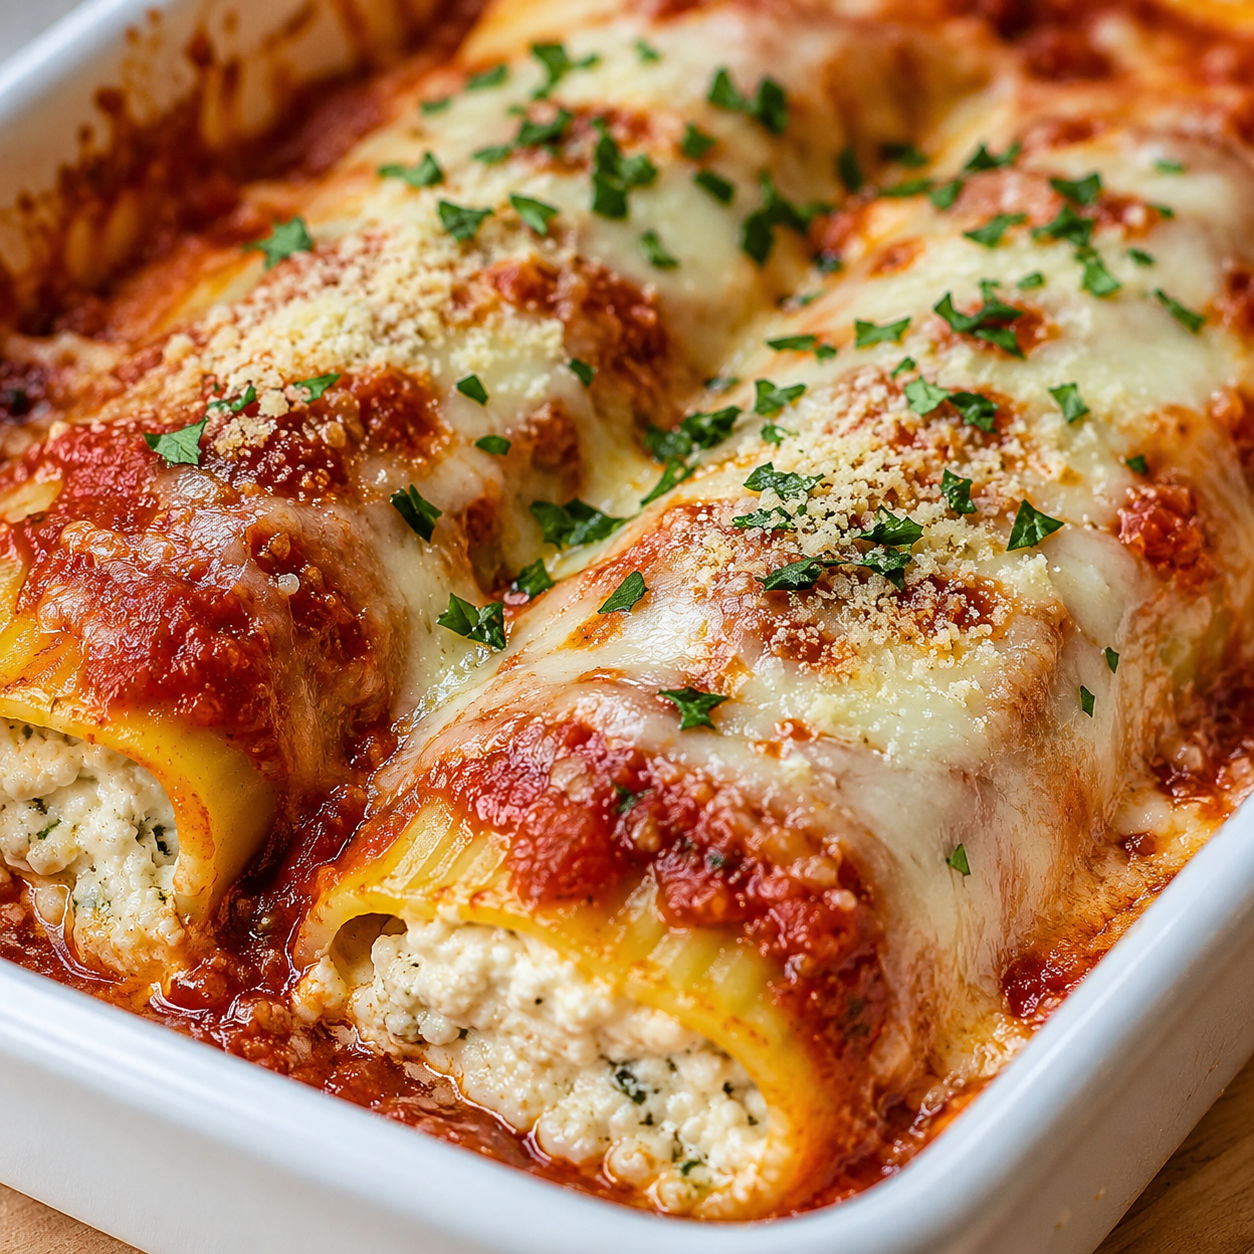
 Pin it
Easy Cheesy Manicotti is the kind of dinner that makes the kitchen smell like a Sunday meal without asking for a whole Sunday. The pasta tubes bake under marinara until the edges soften, the cheese filling turns creamy, and the top gets that stretchy mozzarella pull everyone reaches for first.
I like this version because it stays simple. No meat sauce, no long simmer, no fussy filling. The only part that needs a gentle hand is stuffing the shells, and a zip-top bag makes that cleaner than a spoon.
Cheesy Manicotti Basics
The filling is built around whole-milk ricotta, mozzarella, and Parmesan, so the dish tastes rich without needing many extras. Use a marinara you already like because it seasons the pasta as it bakes.
Fresh parsley adds color and a clean finish. If your marinara is very thick, keep an extra splash nearby so the shells stay saucy around the edges.
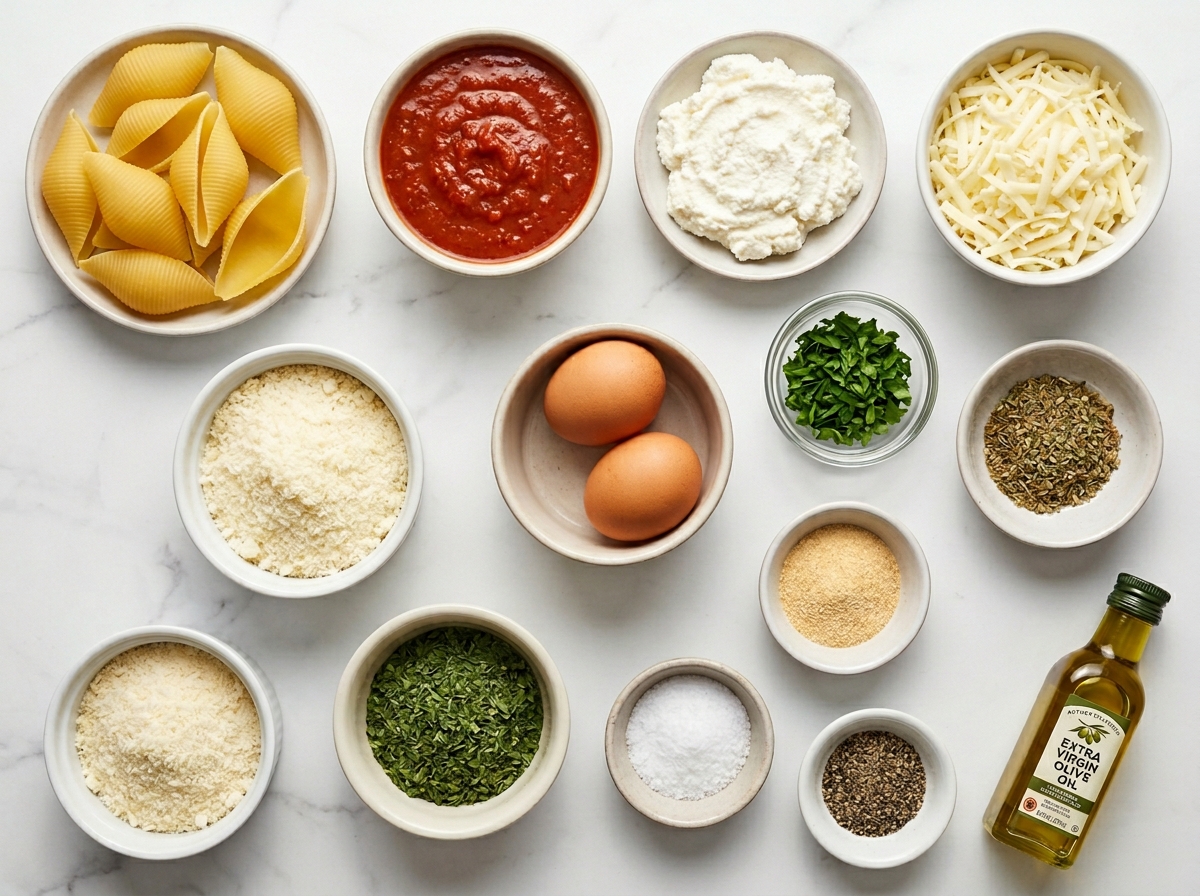
- Manicotti shells. Wide pasta tubes hold the cheese filling and bake into tender, sturdy portions.
- Marinara sauce. Keeps the pasta moist and gives the dish its bright tomato base.
- Ricotta cheese. Makes the filling creamy, soft, and slightly sweet.
- Mozzarella cheese. Adds stretch inside the shells and melts over the top.
- Parmesan cheese. Brings saltiness and a nutty finish that balances the ricotta.
- Eggs. Help the cheese filling set so each piece slices cleanly.
- Fresh parsley. Lightens the filling and makes the baked pasta taste fresher.
- Italian seasoning and garlic powder. Add easy background flavor without chopping extra aromatics.
Bake Easy Cheesy Manicotti
- Soften the shells. Boil the manicotti in salted water until just flexible, then drain and cool them apart so they do not stick or tear.
- Mix the filling. Stir ricotta, mozzarella, Parmesan, eggs, parsley, Italian seasoning, garlic powder, salt, and pepper until creamy and evenly combined.
- Prepare the dish. Spread marinara over the bottom of a 9x13-inch baking dish so the pasta has a saucy cushion.
- Fill the pasta. Spoon the cheese mixture into a piping bag or zip-top bag, snip the corner, and pipe filling into both ends of each shell.
- Cover and bake. Arrange the shells in one layer, spoon on the remaining sauce, cover with foil, and bake until hot all the way through.
- Melt the top. Uncover, add more mozzarella, and bake until bubbling. Rest for 5 minutes before serving.
Stuffing Without The Mess
A piping bag is the easiest tool here, but a sturdy zip-top bag works almost as well. Fill the bag, push the cheese mixture toward one corner, snip a small opening, and pipe from both ends of each shell. If the opening is too wide, the filling comes out fast and can crack the pasta. Start small. You can always cut the corner a little bigger.
The shells should be cool enough to handle and still firm. If they feel limp, they are more likely to split. If one tears, do not toss it. Fill it gently and place it torn side down in the sauce. The baked mozzarella hides a lot.
Sauce Keeps It Tender
Manicotti needs enough sauce to protect the pasta while it bakes. Spread sauce under the shells first, then spoon more over the top so no dry pasta is exposed. The foil traps steam and lets the center heat before the top cheese browns. If you like baked pasta with extra sauce, use a 28-ounce jar instead of 24 ounces.
This is also where a good side earns its place. A pan of Cheesy Garlic Bread is the obvious move, but Cheesy Garlic Green Beans make the plate feel a little brighter.
Fresh Cheese Melts Better
Pre-shredded mozzarella is convenient and works in a busy kitchen. Freshly shredded mozzarella melts smoother, though, especially on the top where you want that glossy pull. Parmesan is worth grating from a wedge because it tastes sharper and blends into the ricotta instead of staying gritty.
For a heartier pasta night, keep this manicotti vegetarian and put a meaty pasta on another night, like Cheesy Beef Rigatoni Bake. If you want an easy non-pasta side for kids, Easy Cheesy Rice with Veggies fits the same comfort-food lane.
Make-Ahead And Freezer Notes
You can assemble the dish earlier in the day and refrigerate it covered. Add 5-10 minutes to the covered bake time if it goes into the oven cold. For freezing, assemble the manicotti in a freezer-safe dish, wrap it tightly, and freeze before baking. Thaw overnight in the fridge for the most even texture.
Cooked leftovers keep well for 3-4 days in the refrigerator. FoodSafety.gov has a helpful cold food storage chart if you want a quick reference for leftovers. Reheat covered at 350°F with a spoonful of extra sauce so the pasta does not dry out.
Easy Ways To Change It
Spinach manicotti is the easiest variation. Squeeze thawed frozen spinach until very dry, chop it, and fold about 3/4 cup into the cheese filling. Sauteed mushrooms are good too, but cook off their moisture first. For meat lovers, add cooked Italian sausage or ground beef to the sauce instead of the filling so the shells stay easy to pipe.
Gluten-free manicotti shells work if you cook them carefully and handle them with a light touch. Check the sauce label too. Many jars are gluten-free, but it is still worth reading. For more food handling guidance, the USDA is a reliable place to start.
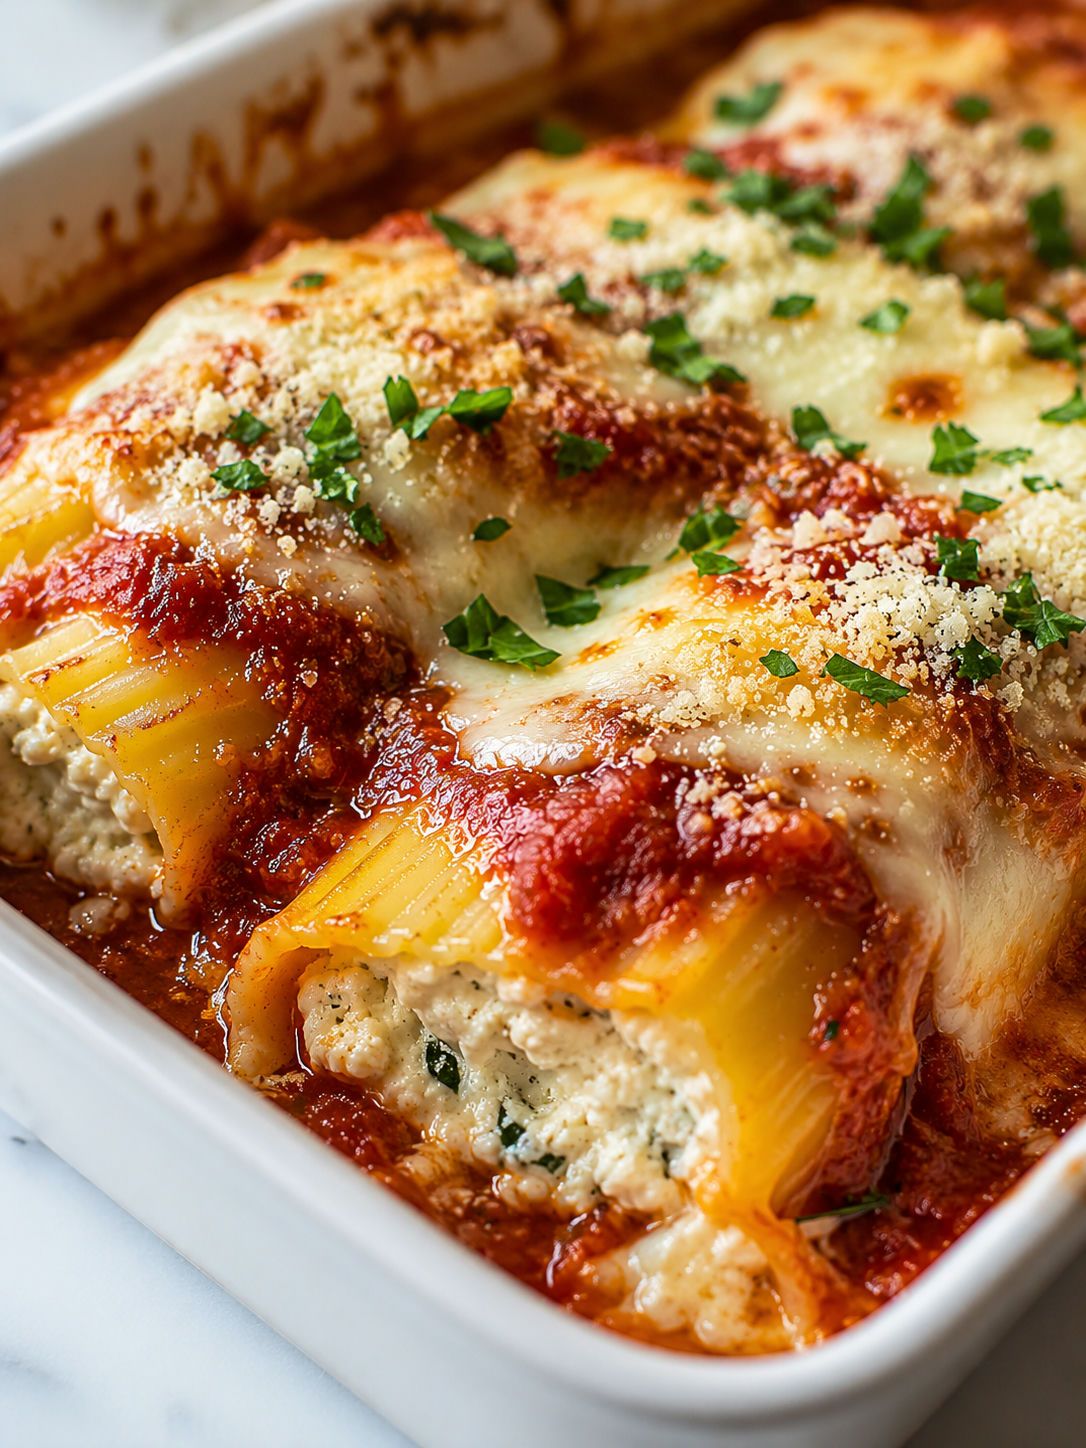
Summary
Serve this manicotti hot from the oven with salad and garlic bread. Leftovers reheat well when covered with extra sauce.

FAQs
- Can I make Easy Cheesy Manicotti ahead of time?
Yes. Assemble the manicotti, cover the dish tightly, and refrigerate it for up to 24 hours before baking. Let the dish sit on the counter while the oven heats, then bake covered until the center is hot.
- Do I have to boil manicotti shells first?
For this recipe, yes. Boiling them until just flexible makes them easier to fill and keeps the bake time reliable. Do not cook them until soft, since they can split while you stuff them.
- What can I use instead of ricotta?
Small-curd cottage cheese works well if you drain off extra liquid first. Blend it briefly for a smoother filling, then mix it with mozzarella, Parmesan, egg, and herbs.
- How do I keep manicotti from tearing?
Cook the shells a minute shy of the package time and lift them from the pot gently. Lay them apart on parchment or a lightly oiled tray so they do not stick together while cooling.
- Can I add meat or vegetables?
Yes. Add cooked Italian sausage, ground beef, spinach, or chopped sauteed mushrooms to the filling. Keep add-ins drained and finely chopped so the mixture pipes into the shells cleanly.
- What should I serve with cheese manicotti?
A crisp green salad and garlic bread are the easiest sides. Roasted broccoli, green beans, or a simple cucumber salad also cut through the richness nicely.
